I am taking a woodworking class in a few weeks to make a Greene and Greene side table. The tool list includes three square punches (1/4", 5/16", & 3/8") available from Lee Valley. They cost $37.50 apiece! I think I will make them.

My plan is to take a length of drill rod and drill the end to slightly less than the desired square size. The hole will be chamfered so the diameter of the chamfer equals the diagonal of the square. The end of the rod will be squared up in the mill. This will hopefully produce the sharp arcs for cutting wood. An alternative to chamfering would be to bore out the opening at an angle.
The exact dimensions are the next issue to consider. The length of the square section is 1/2". The walls should be thin but sturdy. The website recommends drilling the hole 3/64" smaller than the size of the square, implying that 3/128" is removed from each side.I am going to shoot for 1/32" thick steel walls. Decided to make four punches, 3/16", 1/4", 5/16", and 3/8". The wall dimension implies the holes drilled into the four punches should be 1/8", 3/16", 1/4", and 5/16".
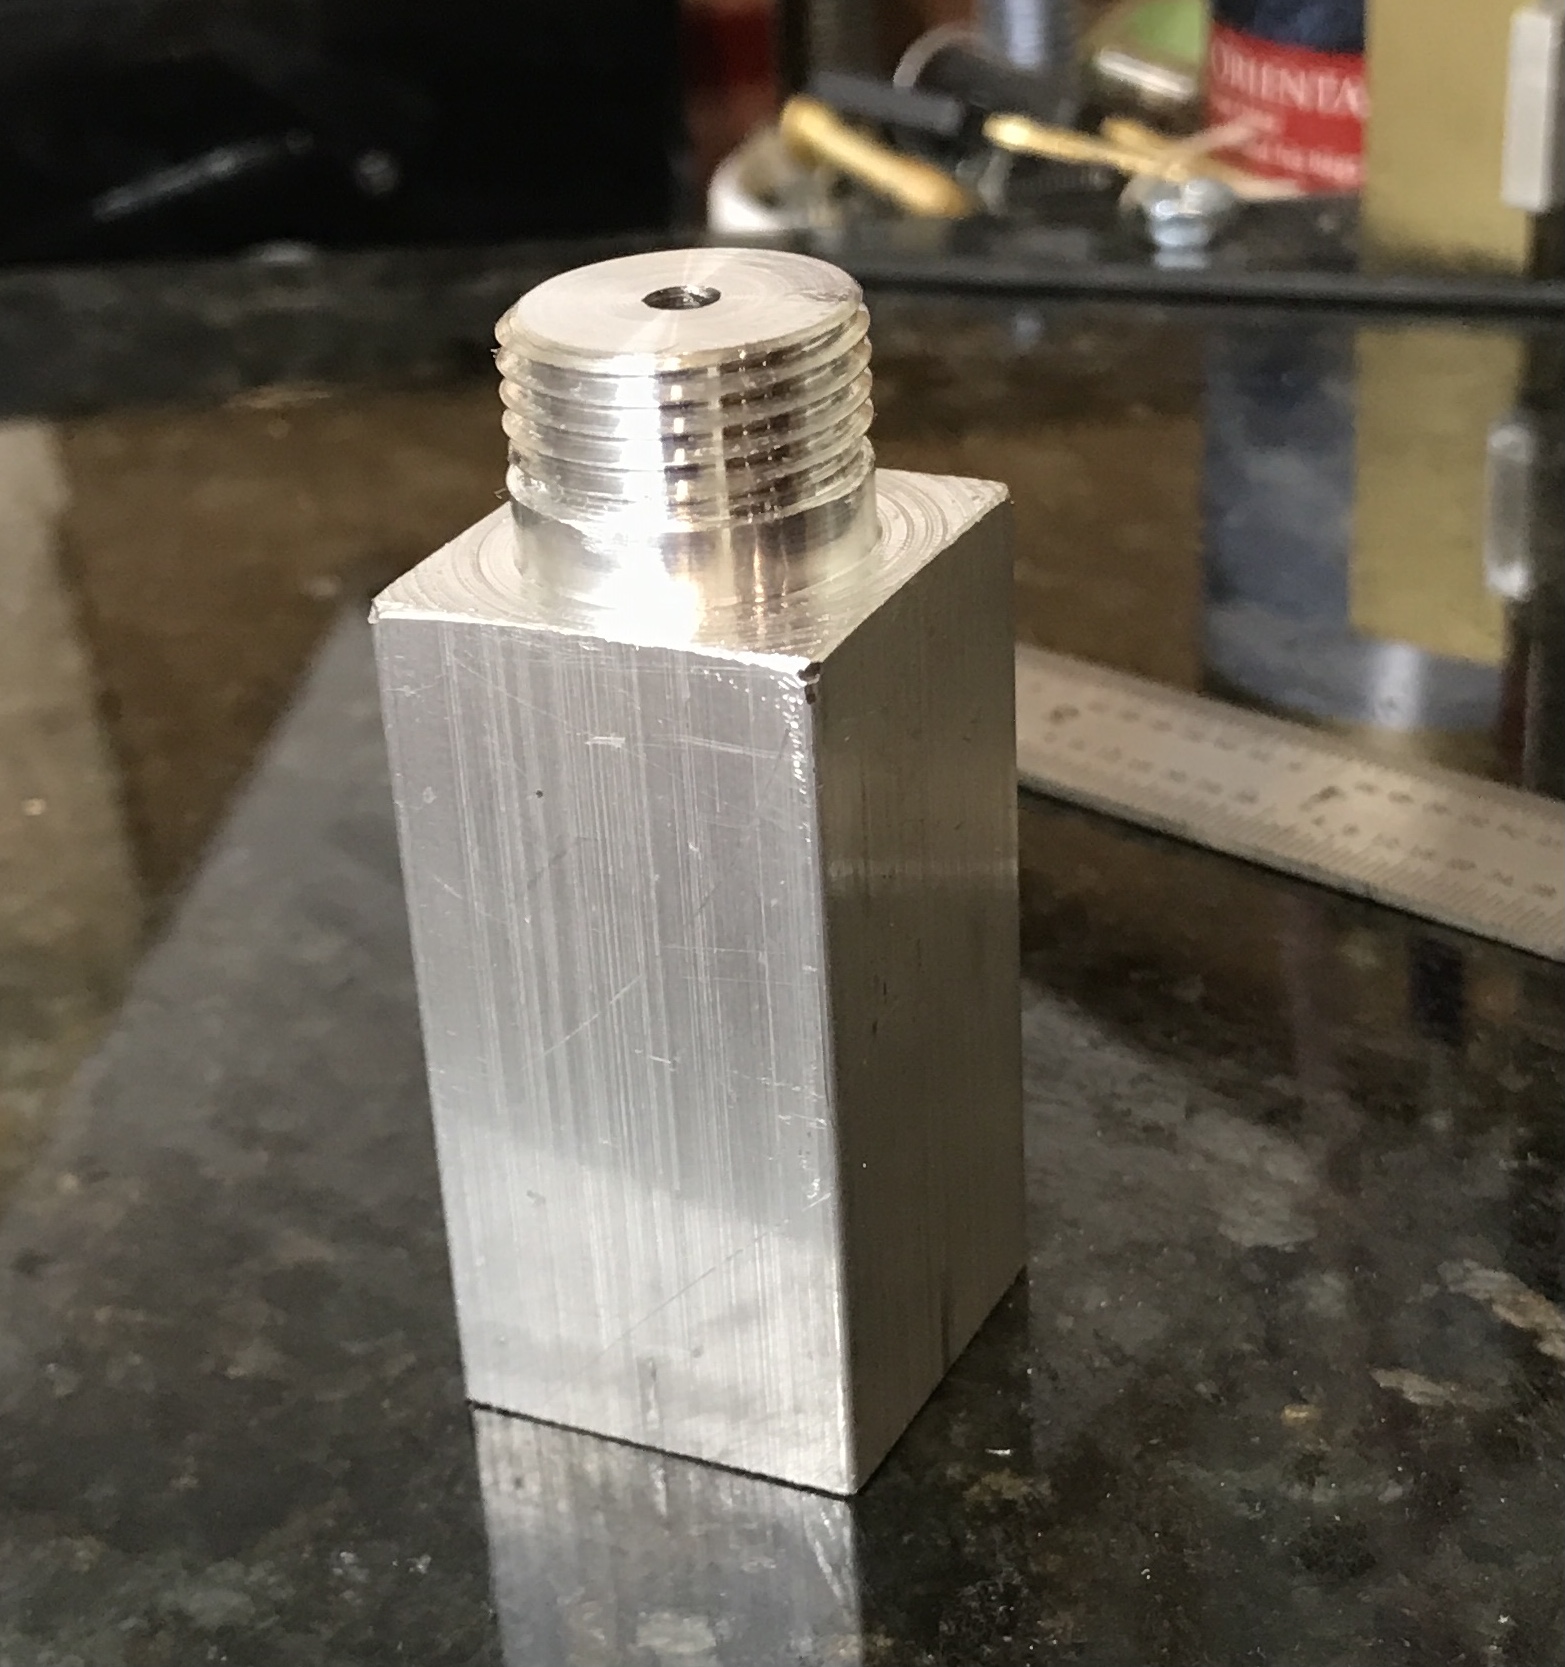
In order to square the round stock an indexing jig needs to be made. I have one for indexing six faces, but not one for four. It is simply a piece of hex steel with one end reduced and threaded for the chuck. This jig was made identically to the Index Block, but with 1" square aluminum. The finished indexing jig is shown below.
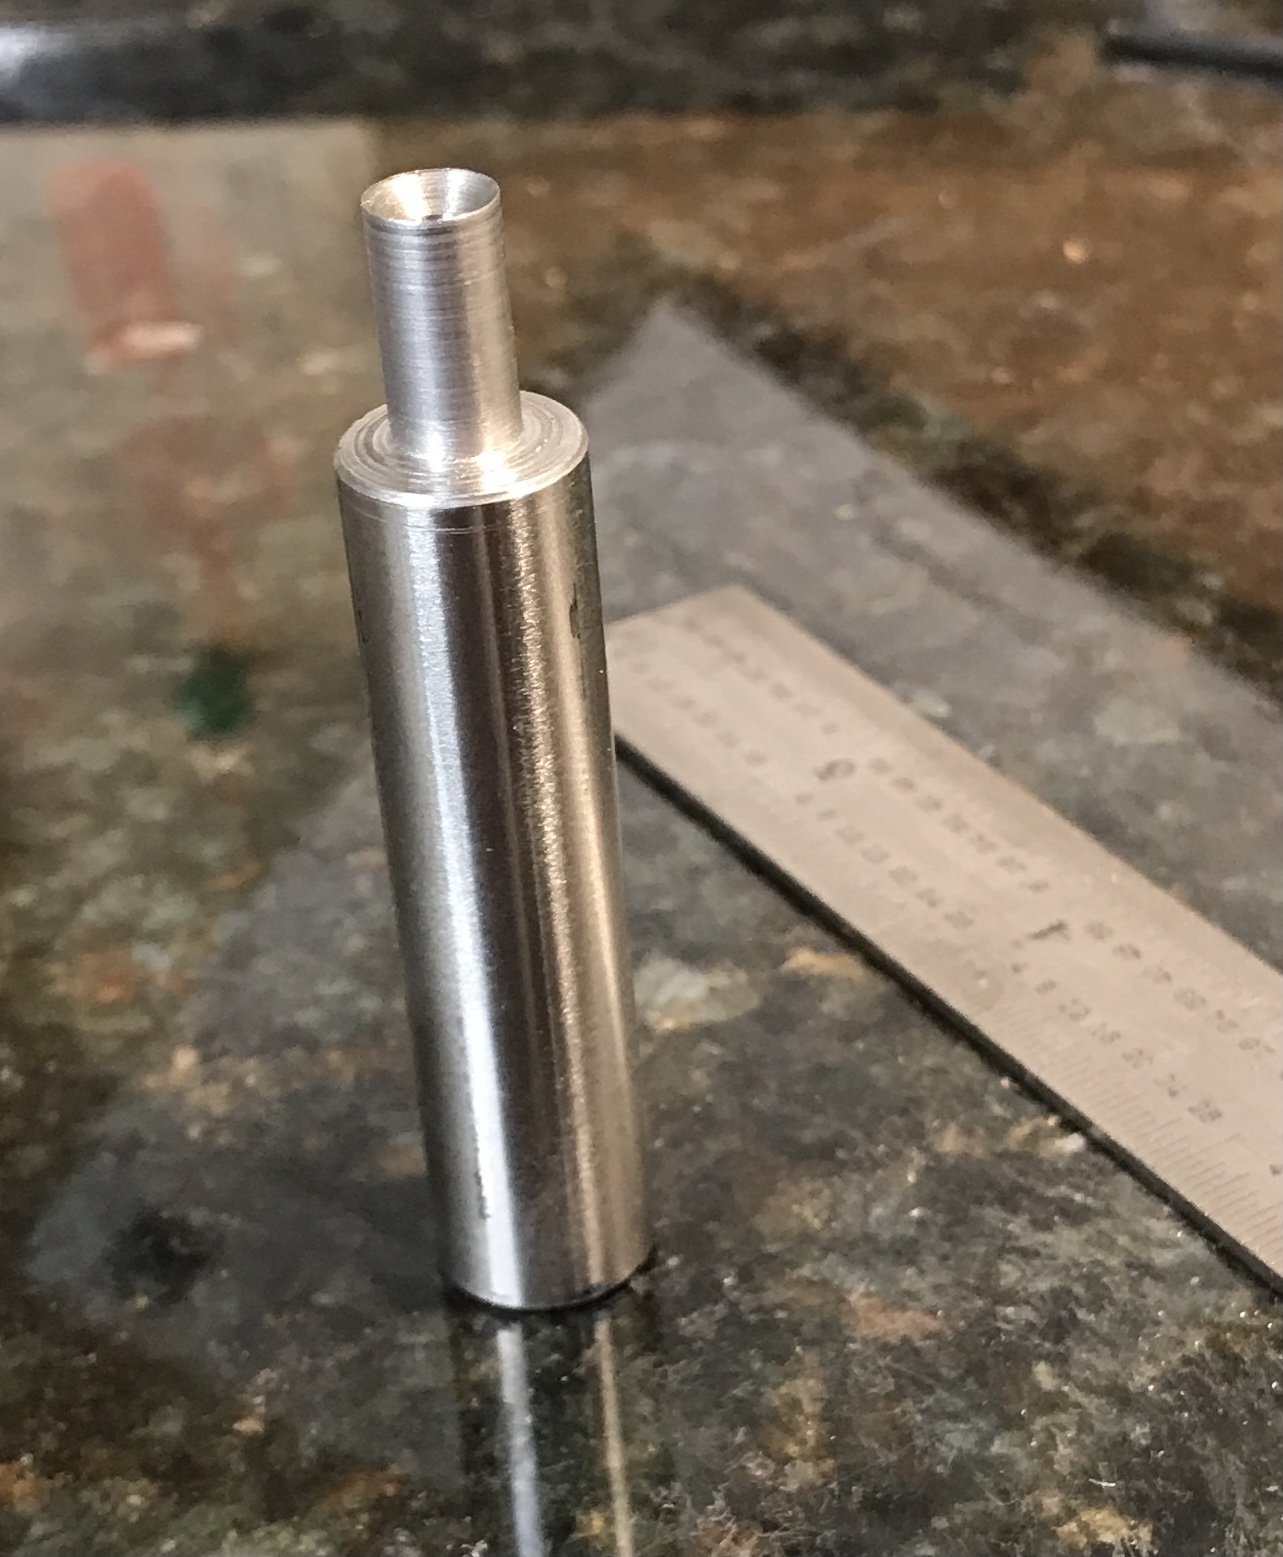
A 2.5" length of 1/2" drill rod was cut off with a hacksaw. One end was faced and drilled 0.128" to 1/2" depth. A countersink was used to cut the internal taper. It was drilled to a depth that gave a 0.265" diameter, which is the diagonal of a 3/16" square. The first 1/2" of the rod was reduced to 0.26". The face at 1/2" was chamfered. The rod was flipped in the chuck and the distal end was faced and chamfered. The end was sanded. The punch at this stage is shown below.
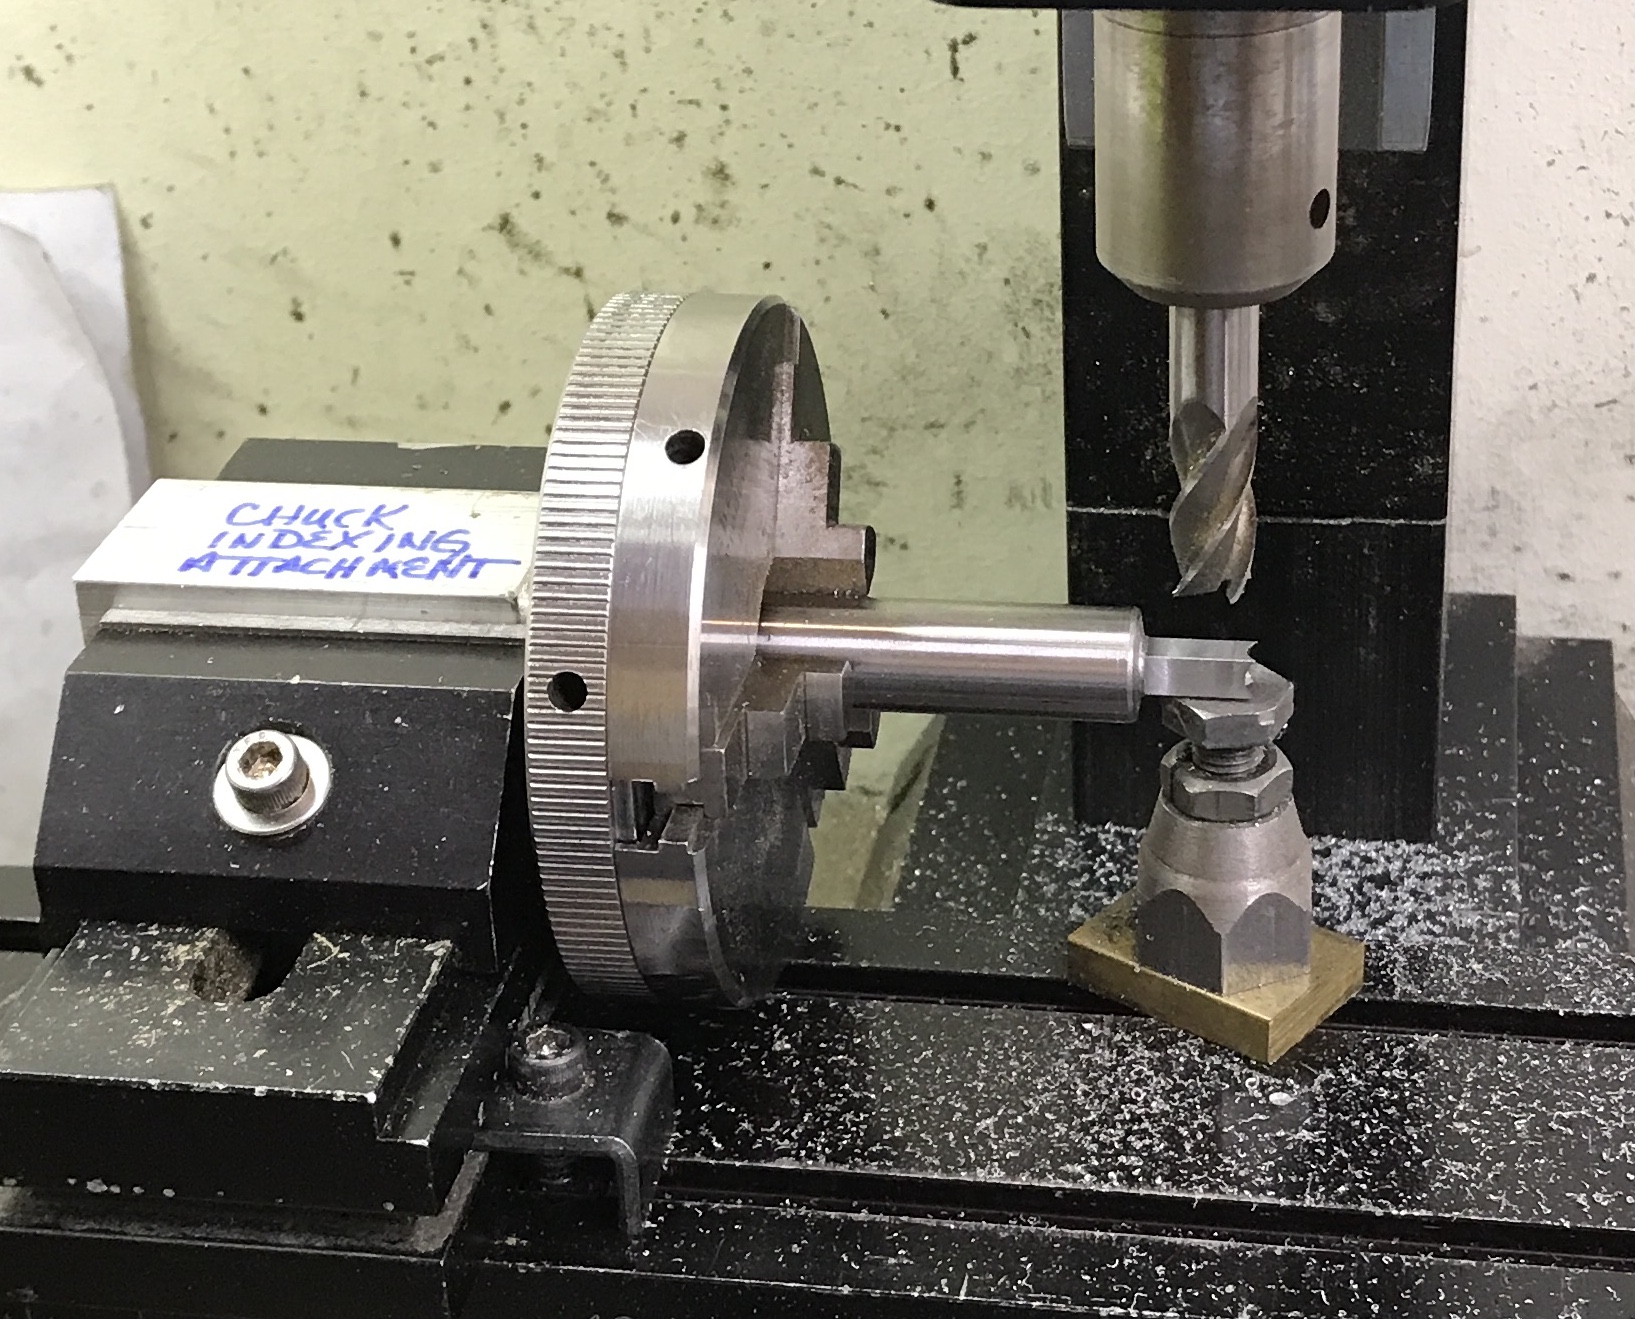
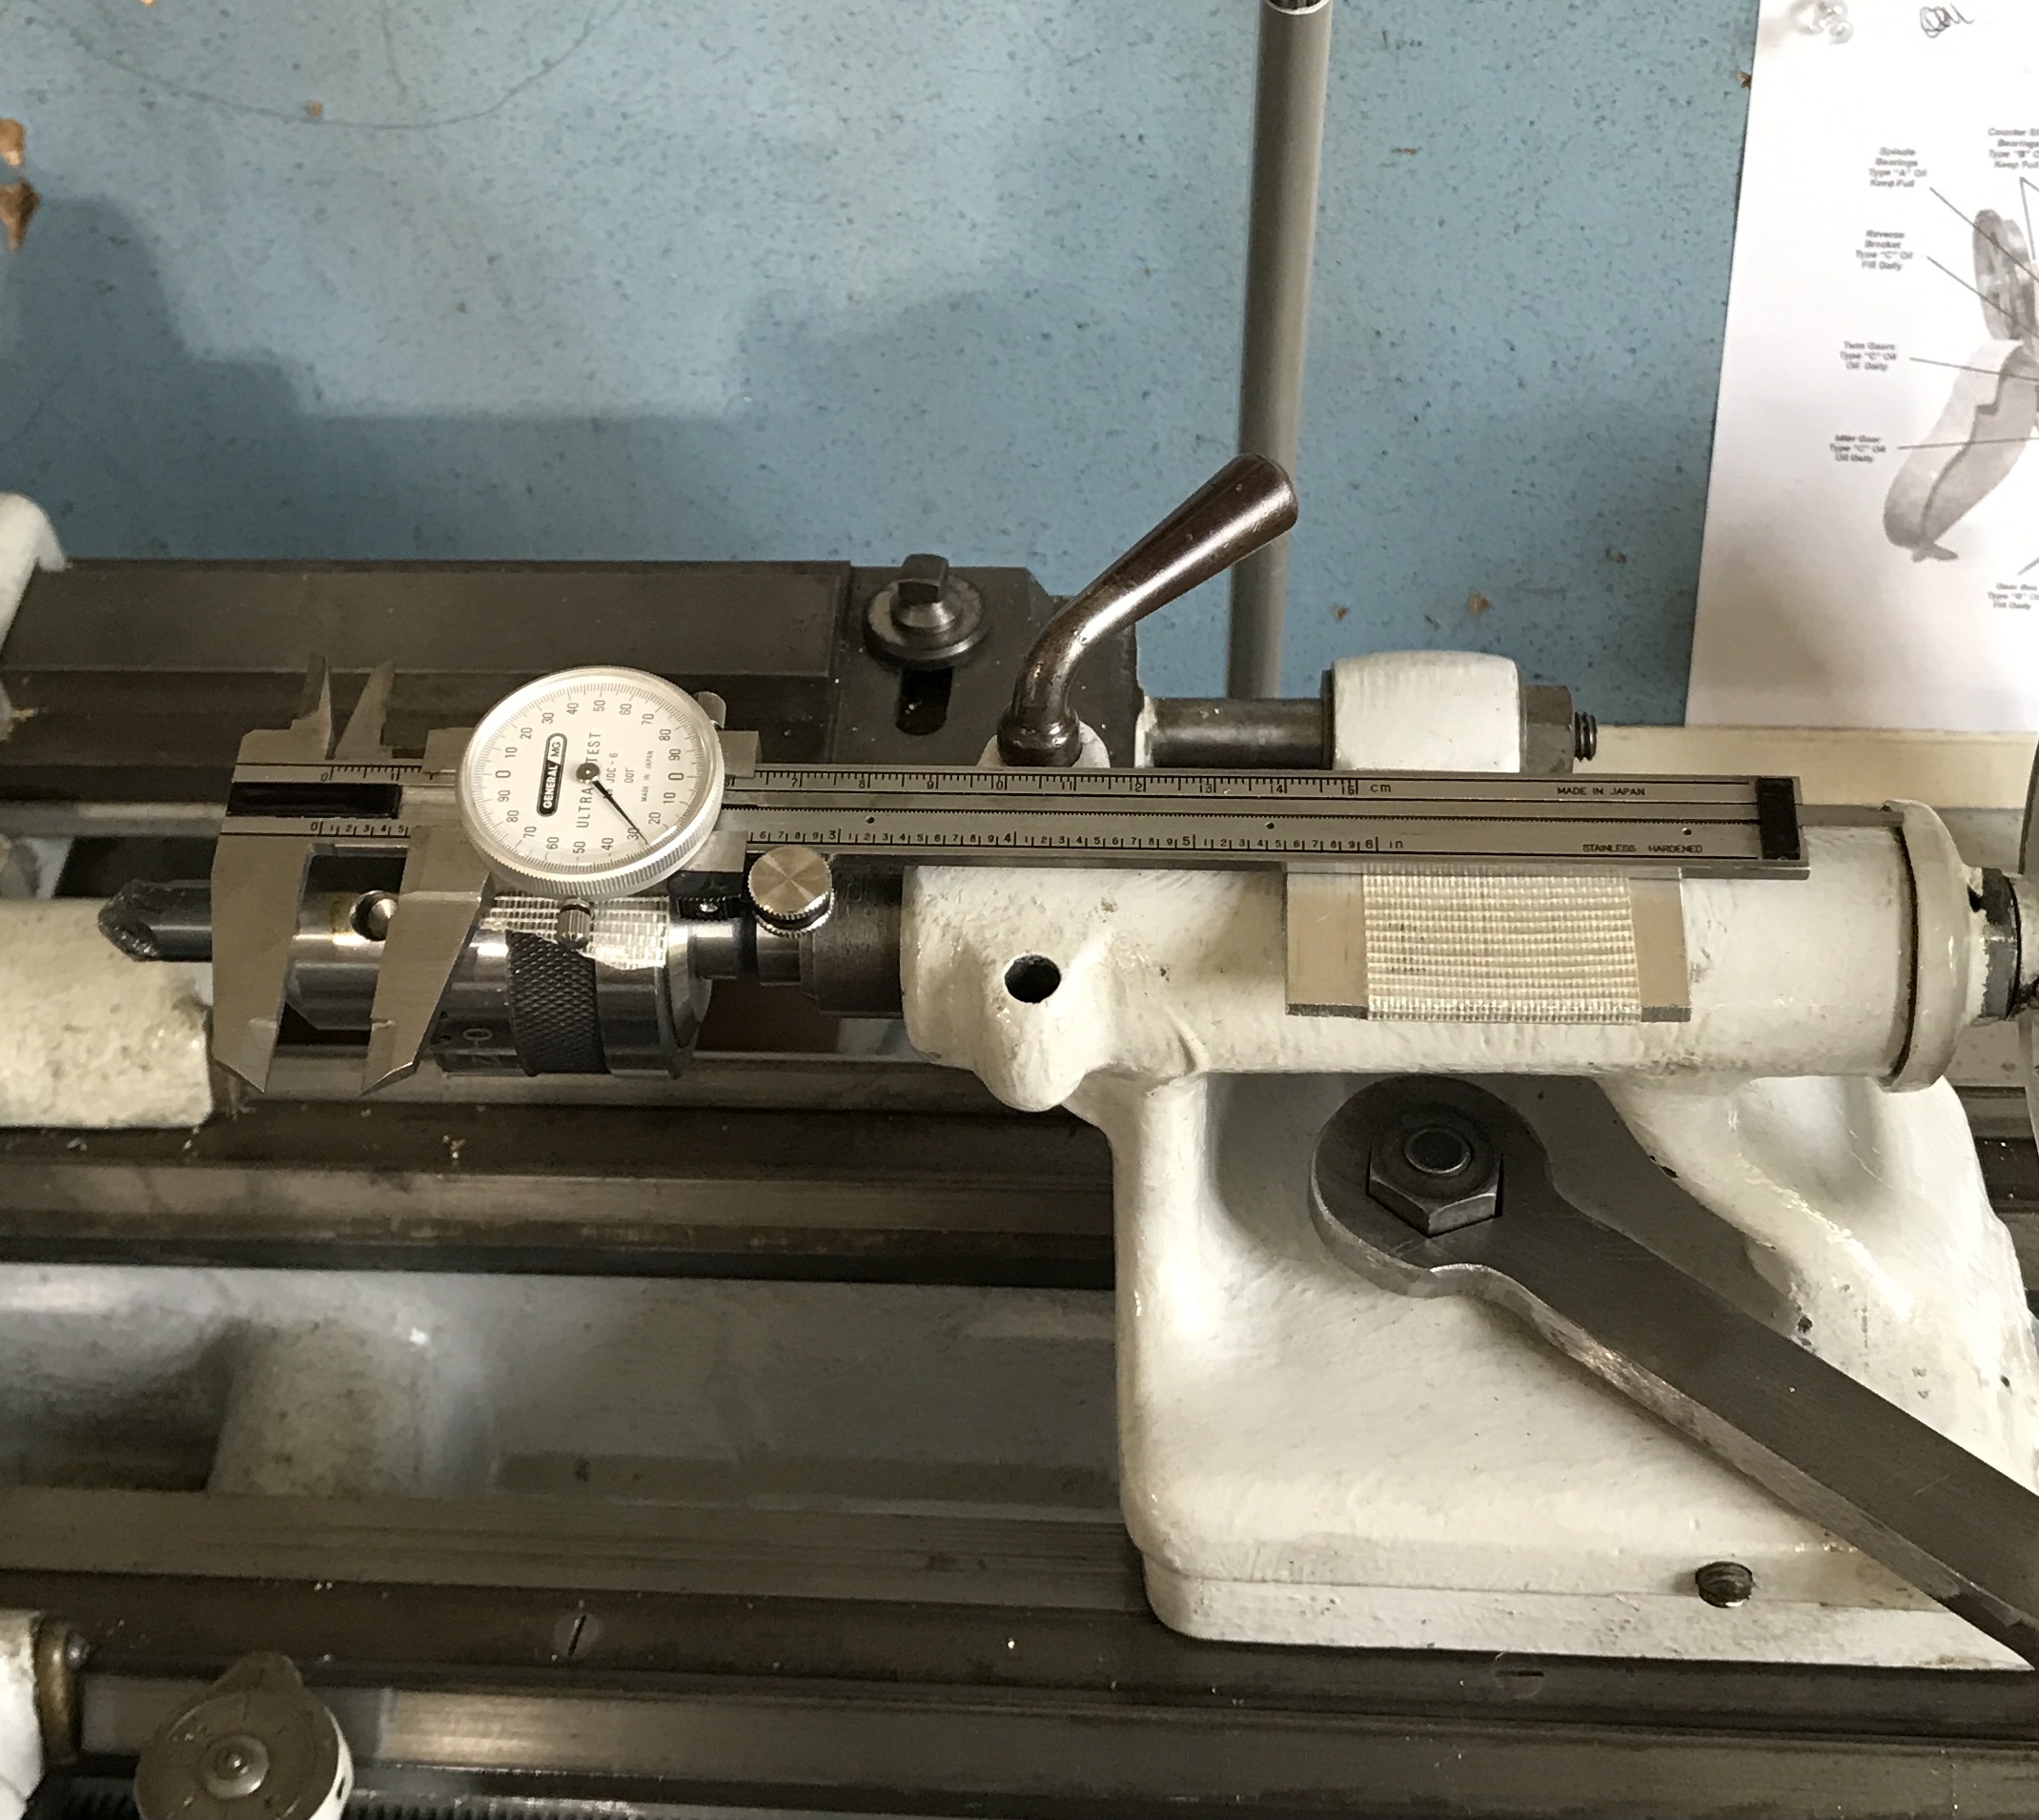
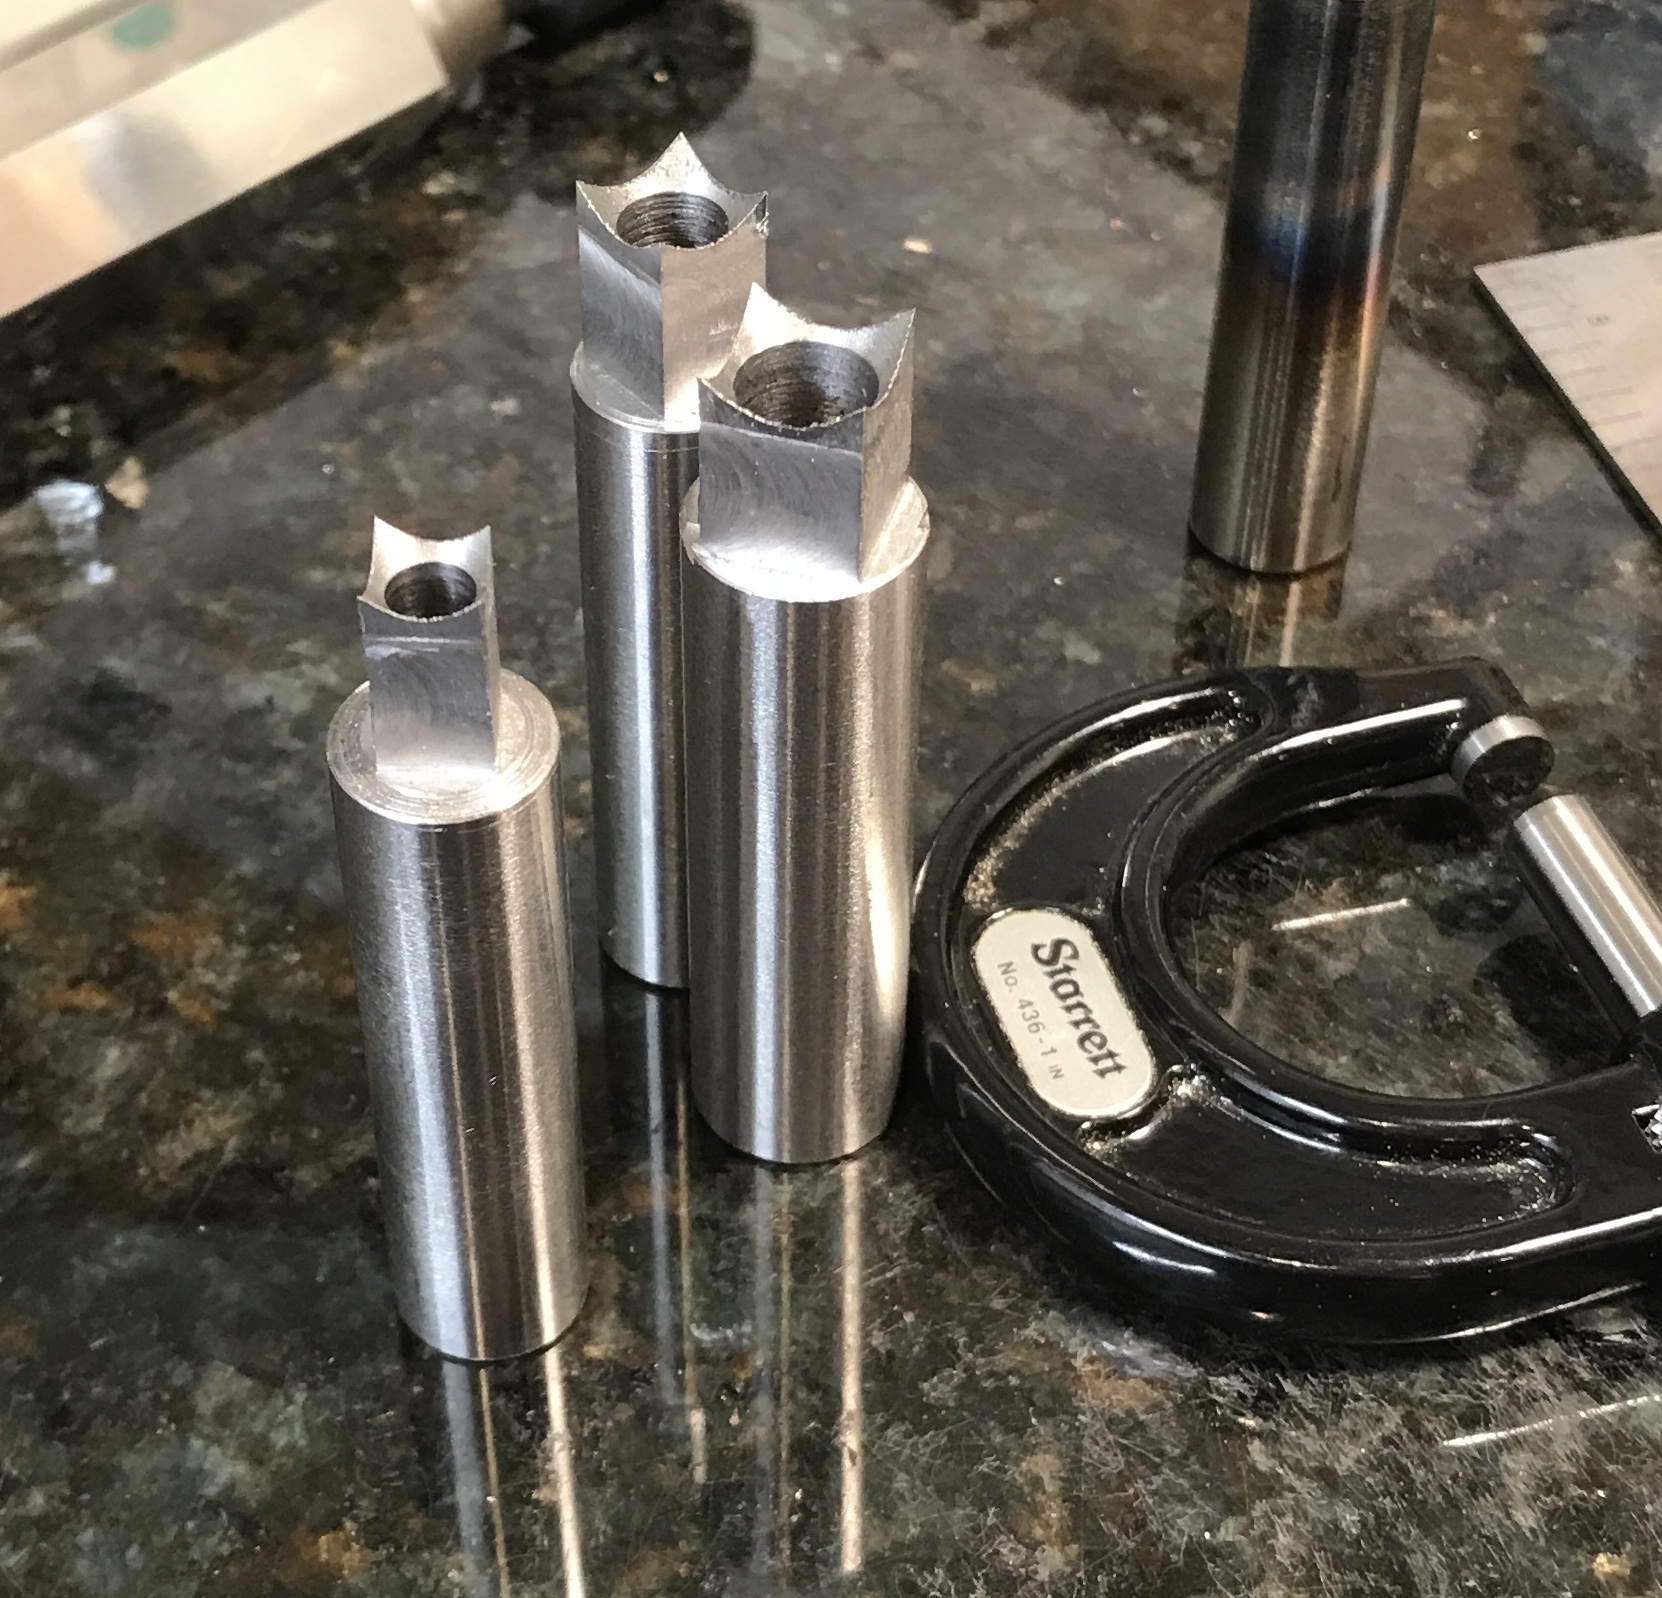
The square punch to be was mounted in the three jaw chuck. The chuck was screwed onto the indexing jig. The jig was held in the vise on the milling table. A machinist's jack supported the end to be cut. This arrangement is shown in the first photo below. Each side was machined in succession. A four flute 3/8" end mill was used to remove 0.005" of material in three passes. A total of 0.035" was removed on each side. The final measurements for the two dimensions are 0.187" and 0.189". The almost finished square punch is shown in the second photo below.
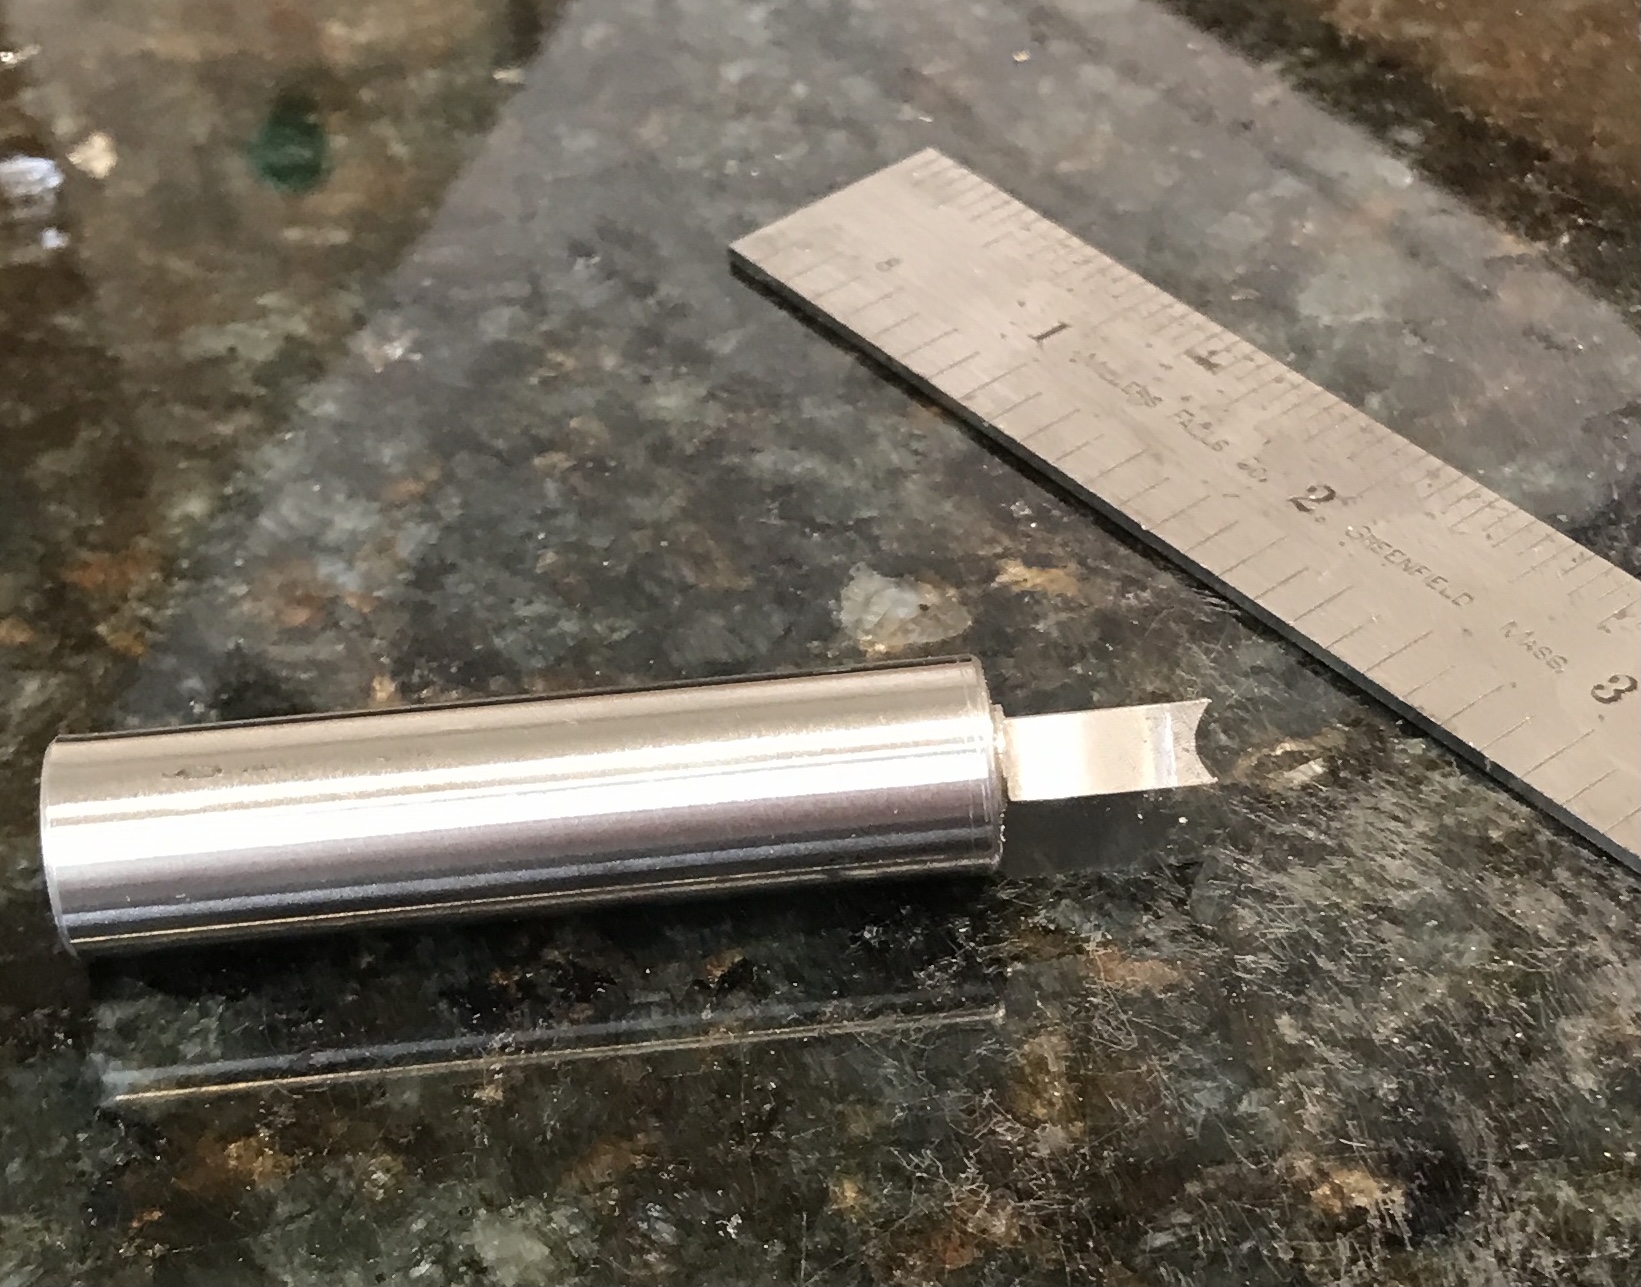
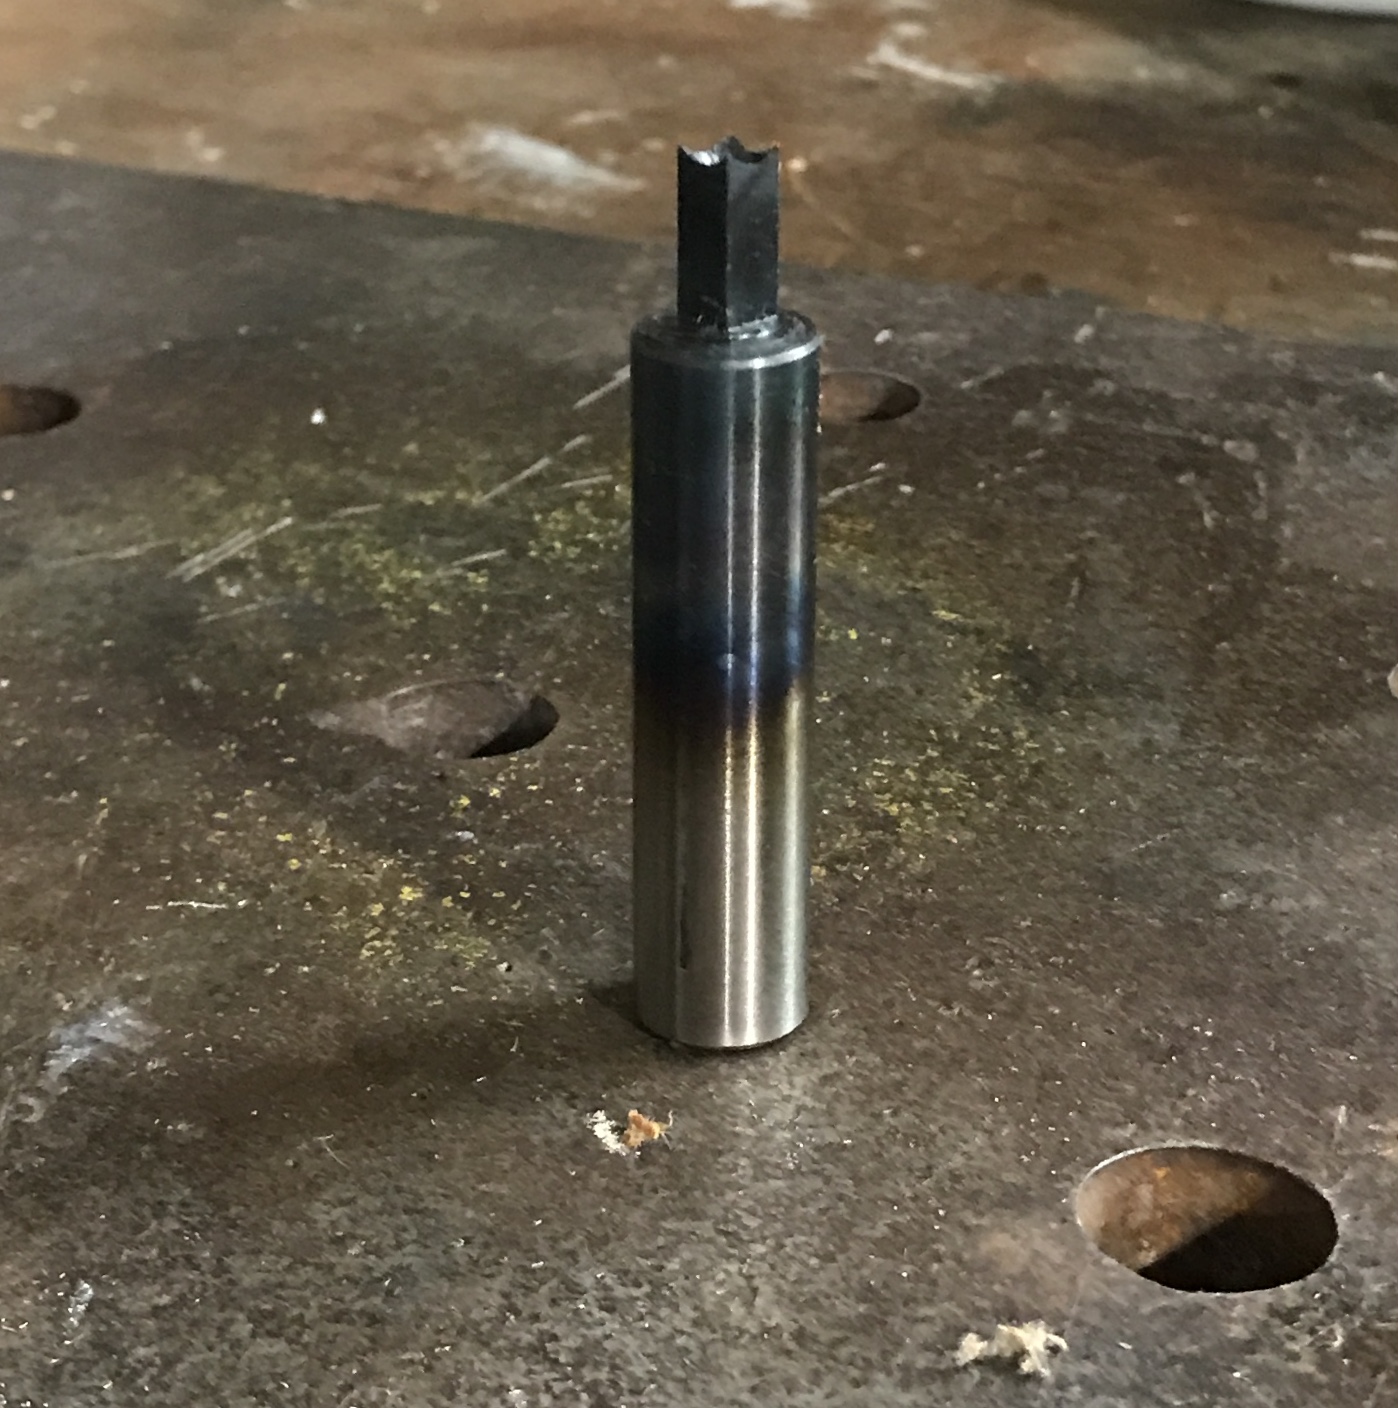
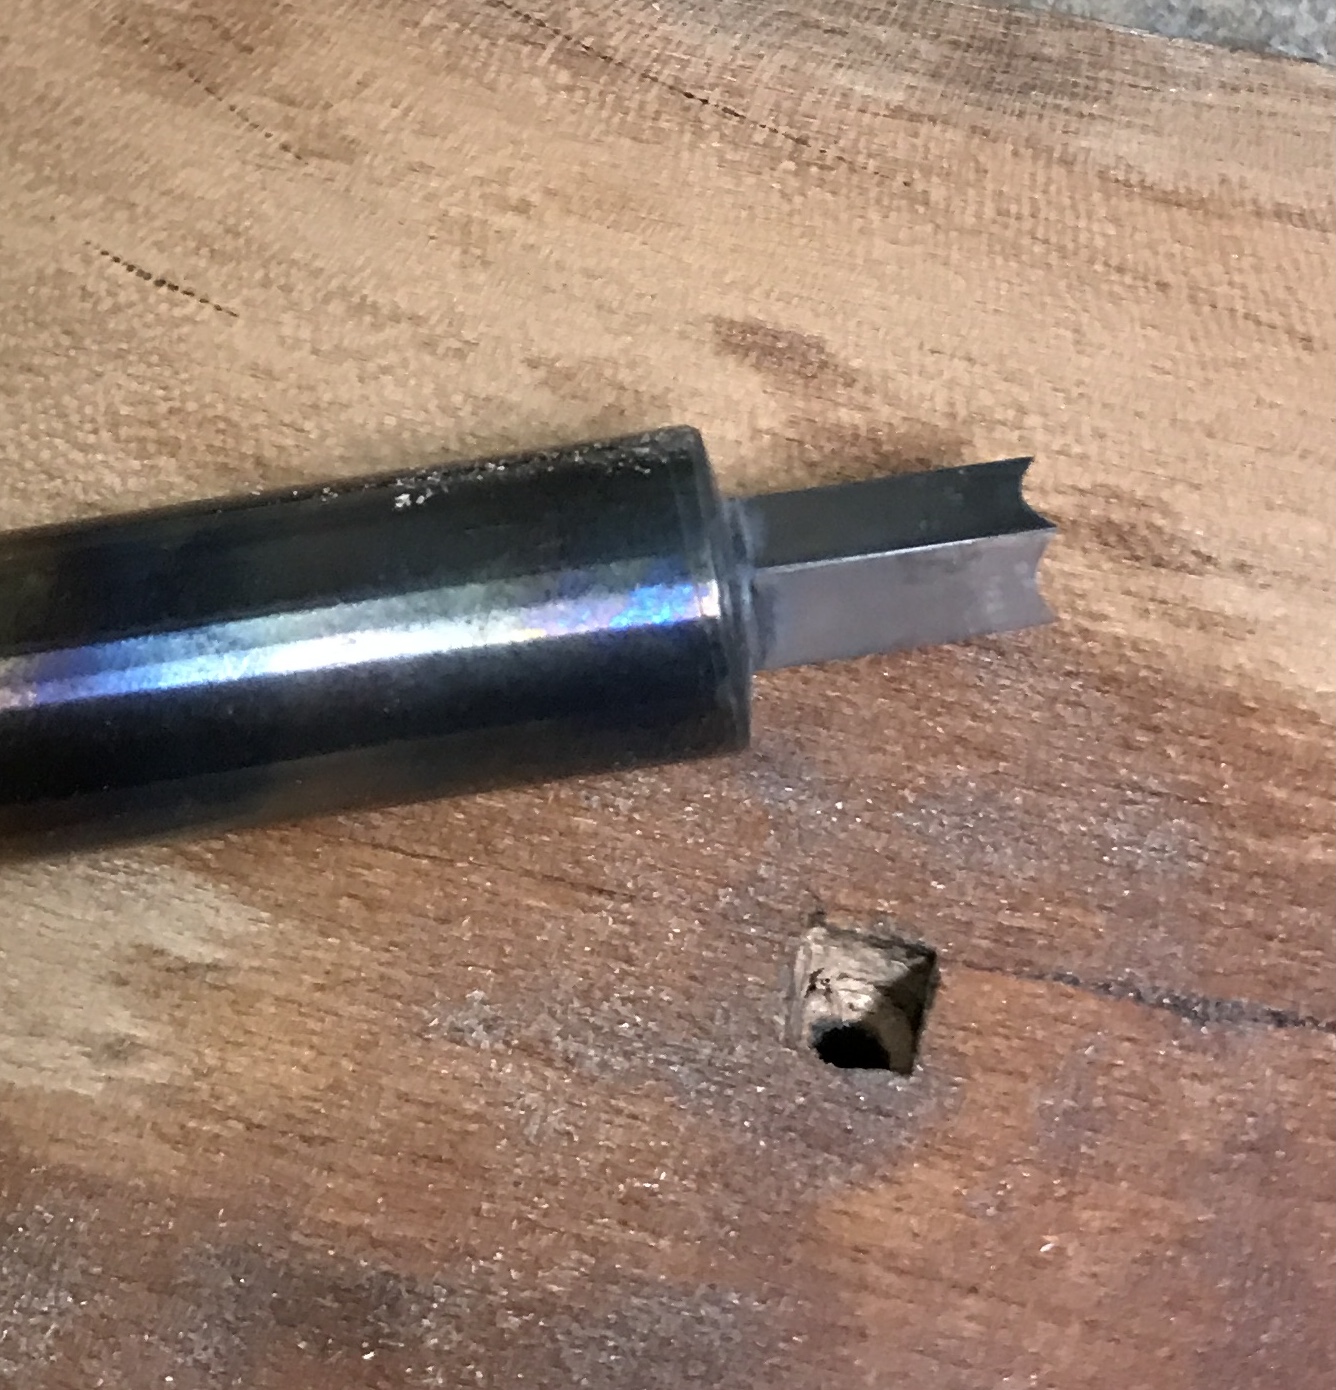
The business end of the punch was heated with a propane torch until the end was cherry red. Care was taken not to burn the end. The end was quenched in oil and allowed to cool. The punch at this stage is seen below. The four faces of the punch were sanded from 180- to 2000-grit sand paper. The punch was tried out in a piece of cherry. A hole was drilled with a #28 drill (0.140"). The punch was centered over the hole. (Nearly impossible to do by eye.)A hammer was used to drive the punch into the wood. The punch had to be removed frequently to remove the loose chips. The photo shows the results.
The following table shows the dimensions for various aspects of these punches. The depth of the countersink from the drilled hole to the diagonal size is calculated with the following formula: z = (y - x)/(2 * tan41°). The included angle of the countersink is 82°.
| Punch Size | Stock Size | Diagonal | Drill Size | CS Depth | Mill Depth |
|---|---|---|---|---|---|
| 0.250" | 1/2" | 0.354" | 0.188" | 0.095" | 0.052" |
| 0.312" | 1/2" | 0.442" | 0.250" | 0.110" | 0.065" |
| 0.375" | 9/16" | 0.530" | 0.312" | 0.125" | 0.078" |
Now I need to make the 1/4", 5/16" and 3/8" square punches. Three blanks were cut to 2 1/2", two from 1/2" drill rod and one from 7/16" drill rod. Both ends were faced in the South Bend lathe. As above the ends were drilled first 1/2" deep with 3/16", 1/4", and 5/16" drills. The holes were chamfered so the resulting diameters were the same as the square's diameter. Making the three went quickly on the South Bend. I attempted to temporarily attach a set of calipers to the tailstock to closely determine the depth of the countersink drilling. It did not work effectively. There was too much play. The countersink drilling was determined by eye. Drill a bit and check for tangency to outer diameter.
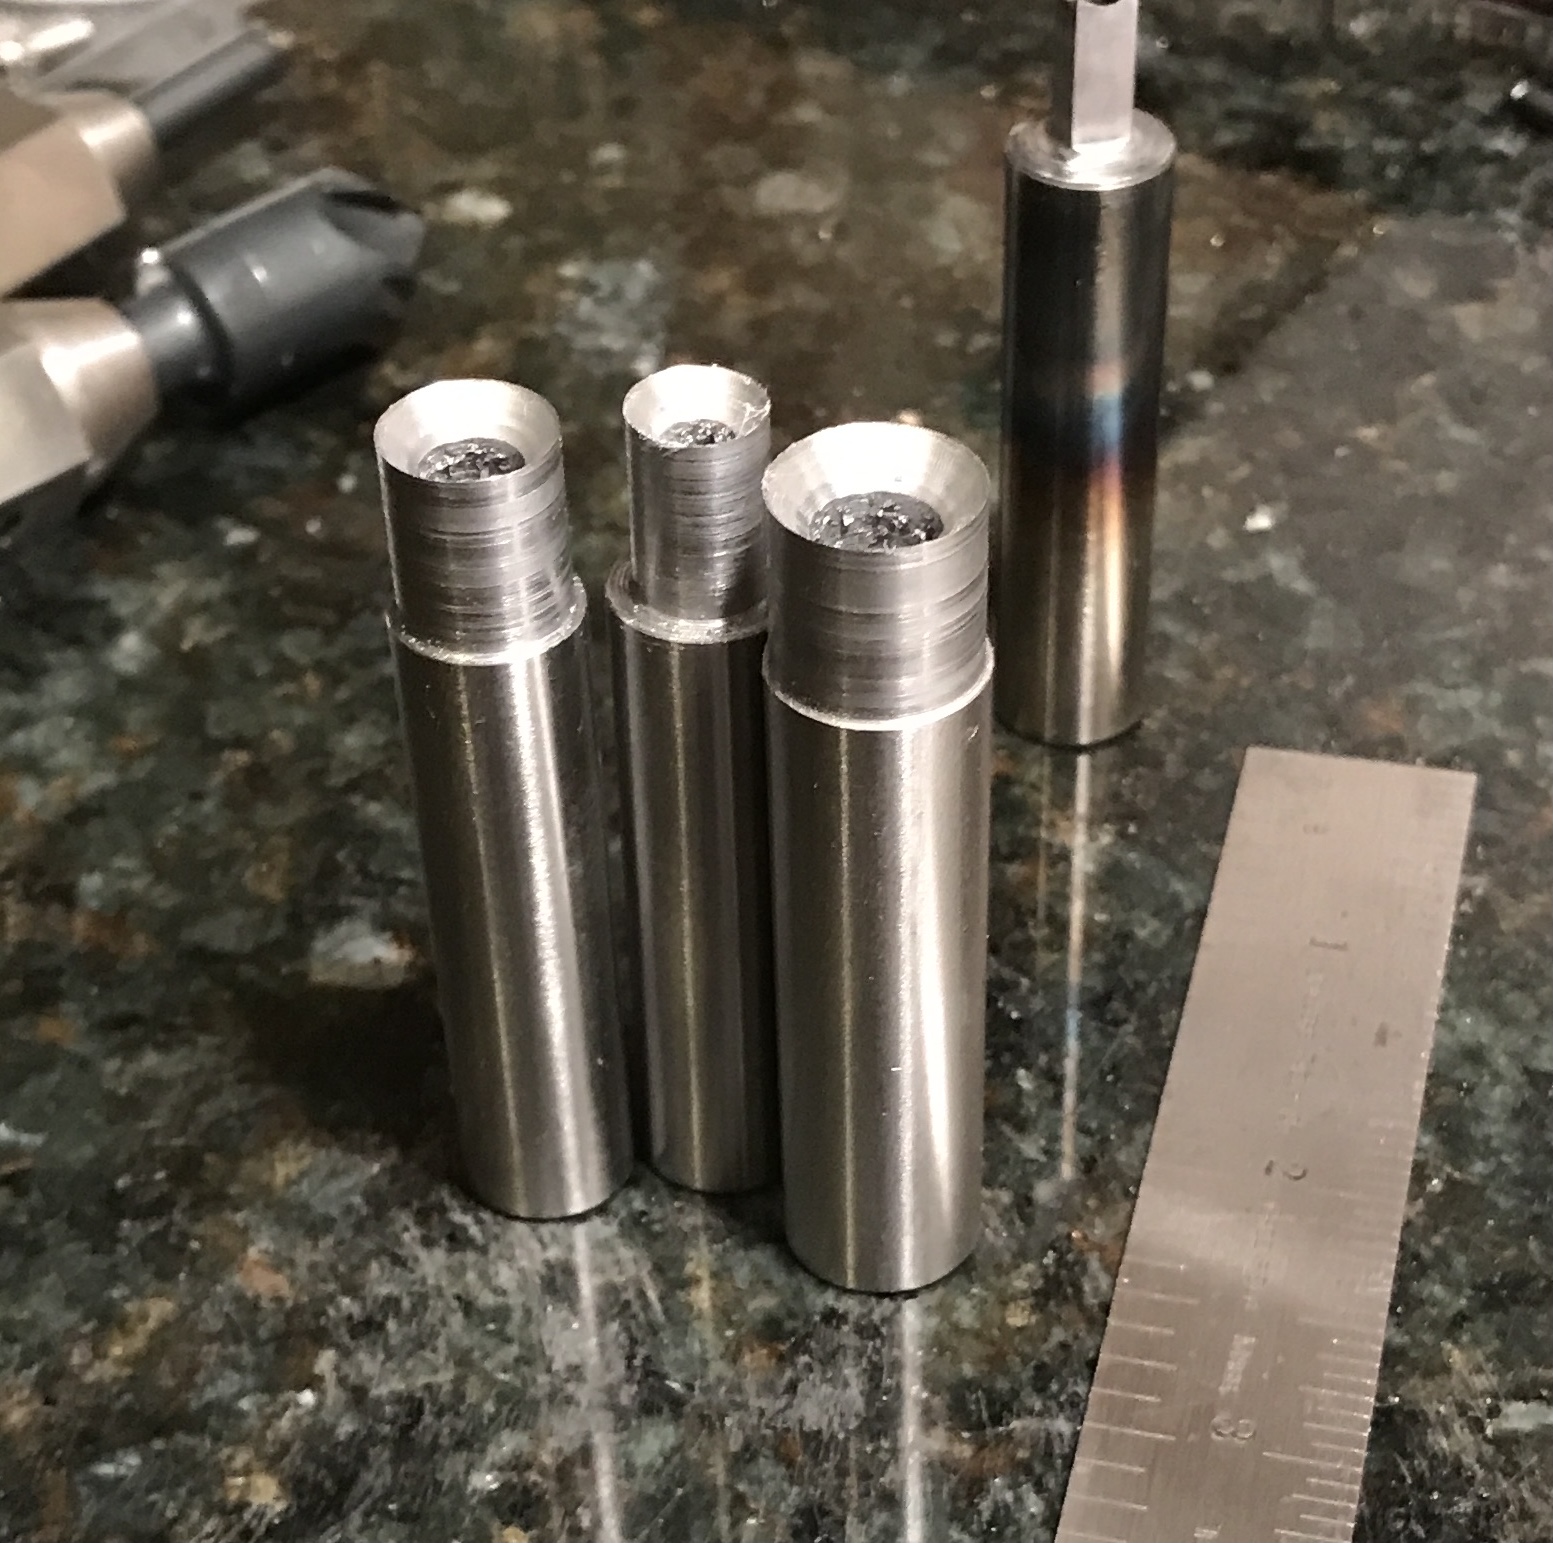
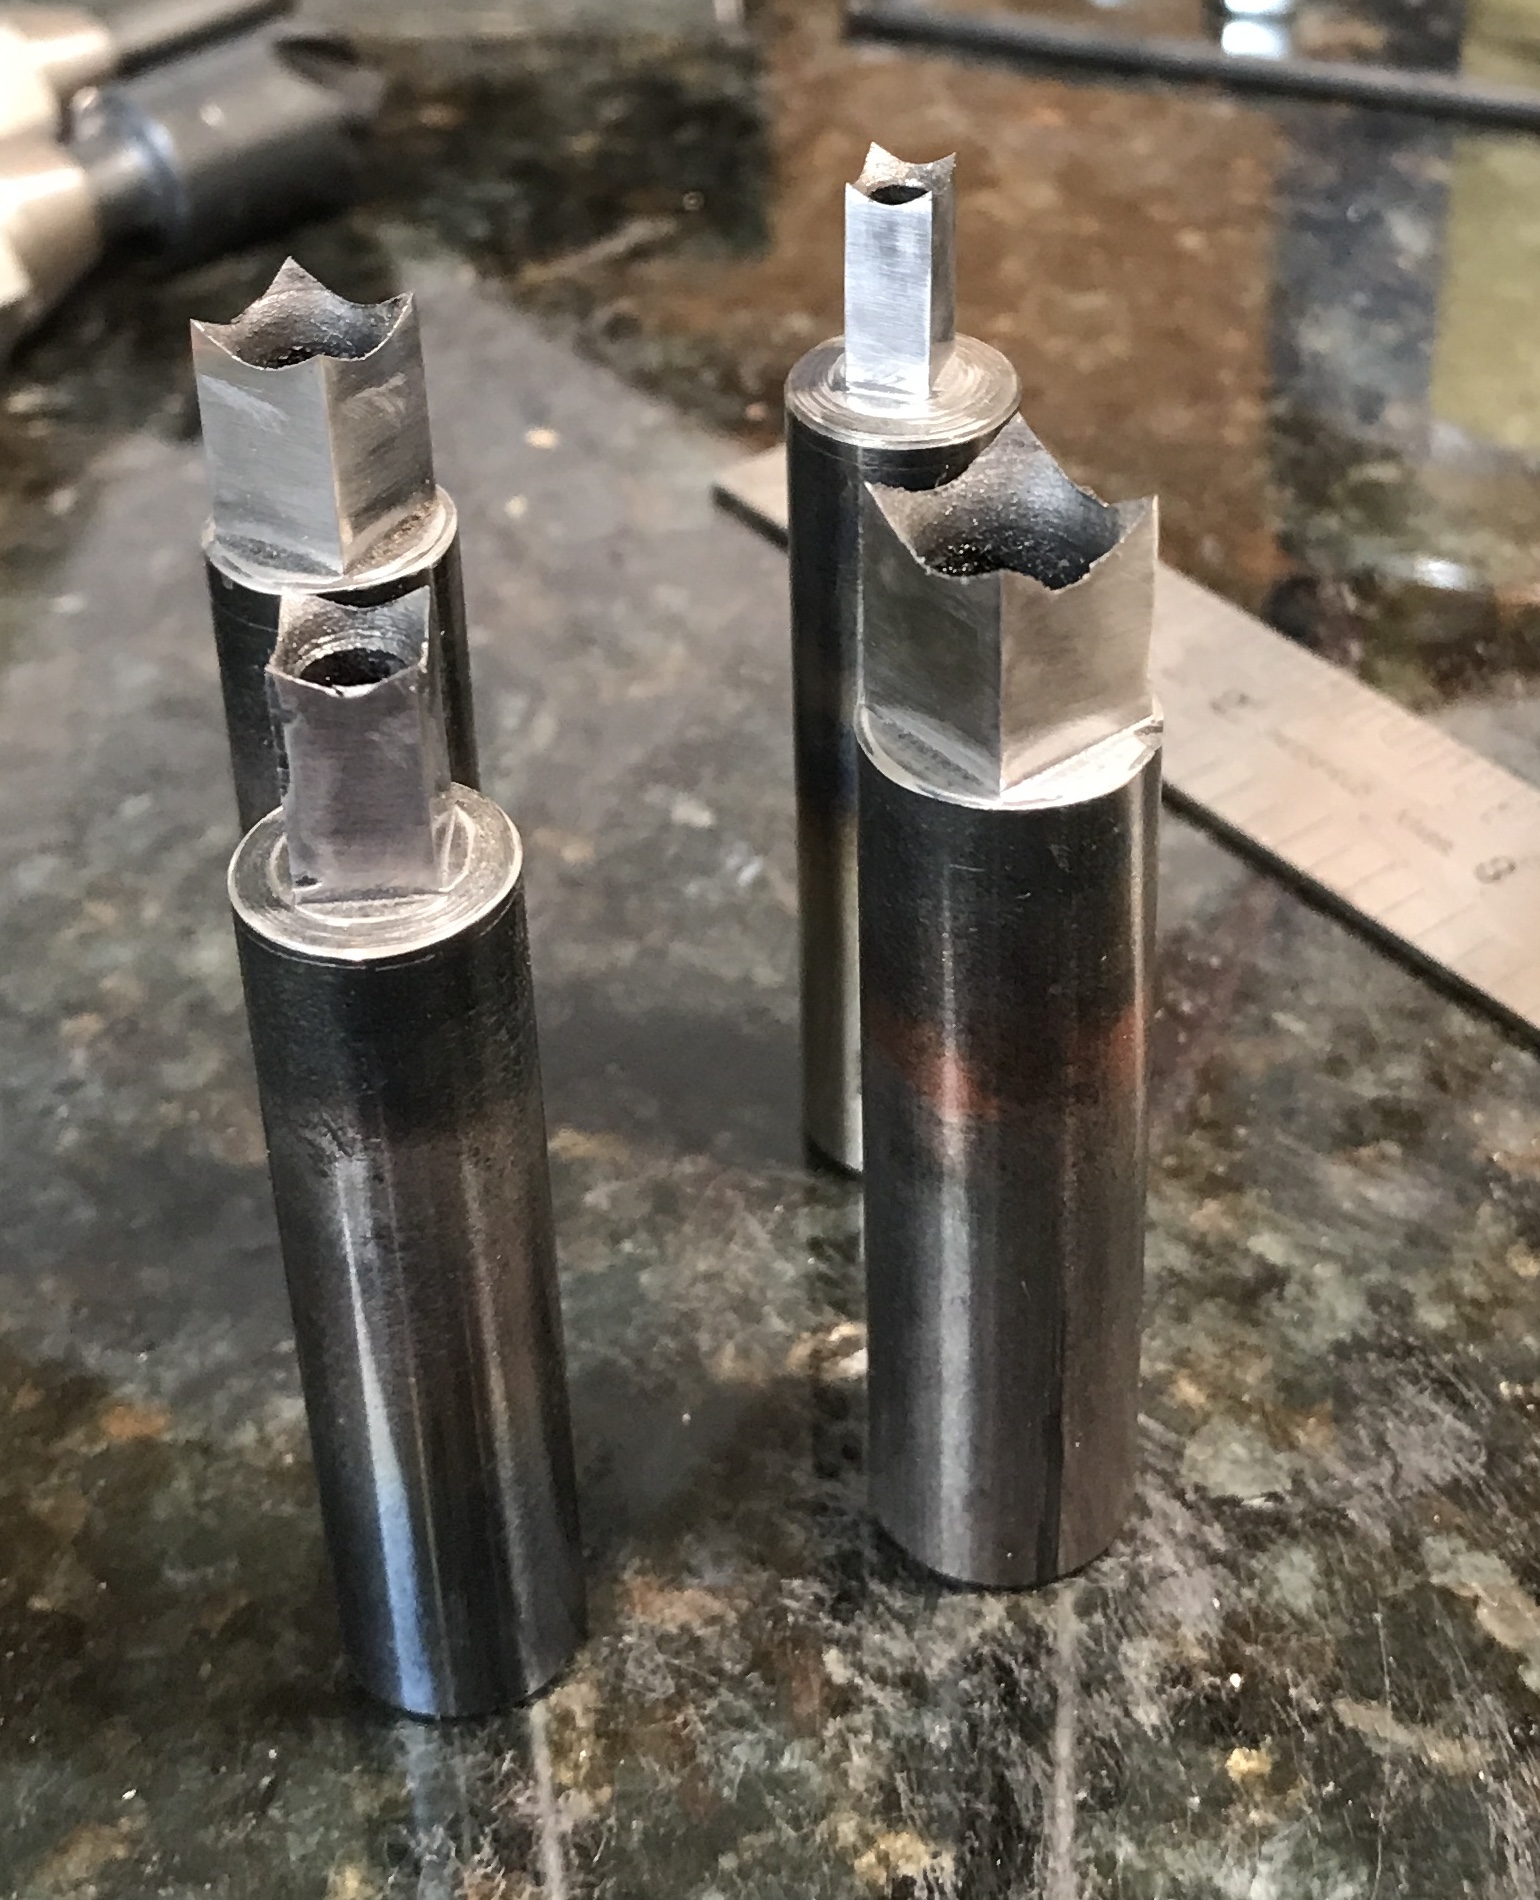
The three parts from the lathe were again held in the three jaw chuck and with the aid of the indexing jig all four faces were cut to the depth listed in the table above. The resulting machined square punches are shown below. Took a break to install new window well covers.
I decided to modify the angle of the internal taper on these three punches. Chisels are 20°. The headstock was set at -20° and the boring tool was used to slowly adjust the internal 41° angle. It was far from a perfect solution, but it worked when 0.002" increments were removed. The three punches were heat treated and sanded to 2000 grit. The four completed square punches are shown in all their glory below.
With the square punches in hand a box is needed to store them safely. The plan is to use a scrap of 1" thick cedar(?). The body of the box, 3 5/16" X 3 1/8", will have four holes and the dovetail on the two ends. The top, 3 5/16 X 3/4", will have the mating dovetail pins with the central 2 5/16" cut out.
The wood was ripped to 3 5/16" wide using the fence. Using the miter gauge the top was cut off at 3/4" and then the bottom was cut from the scrap at 3 1/8". The dado blade set was installed in the table saw. The openings were removed from both the top and body to a depth of 3/8", leaving 1/2" of wood on each of the ends.
Next was cutting the dovetails on both ends of the body and the pins on the top ends. The marking gauge was used to scribe lines at 3/8" on three sides of the body. It was also used to scribe a line on the ends of the top for the pins. The protractor was used to draw lines for the pins on one end of the top. The lines were run around the corner, across the bottom, and transfered to the other end.
The pull saw was used to cut on the lines. Both were cut simultaneously. This turned out to be a mistake as was transferring the lines from one end to the other. There was insufficient accuracy in both operations. The waste was removed with a chisel to the scribed line.
The pins were aligned with the ends of the body and the pattern was transfered using the woodworking knives. The pins were cut with the saw and cleaned up with the chisel. There is a lot of slop, but after some cleanup things were acceptable.
The holes were laid out between the tails on the body. The outside holes were aligned so the tails would be tangent to the holes. 1/16" was left between the holes. All were drilled 1/2" to a depth of 2 1/4". The last hole needs to be opened to 7/16", but I have not found a drill this size!

Besides the ugly dovetails multiple other problems began to raise their heads. Two of the holes were crooked and the punch would not fit in them. I did not want to try boring out the fourth hole. I could envision multiple problems causing disaster. I decided to skip the box for now. Maybe with some fresh ideas something else will be made.
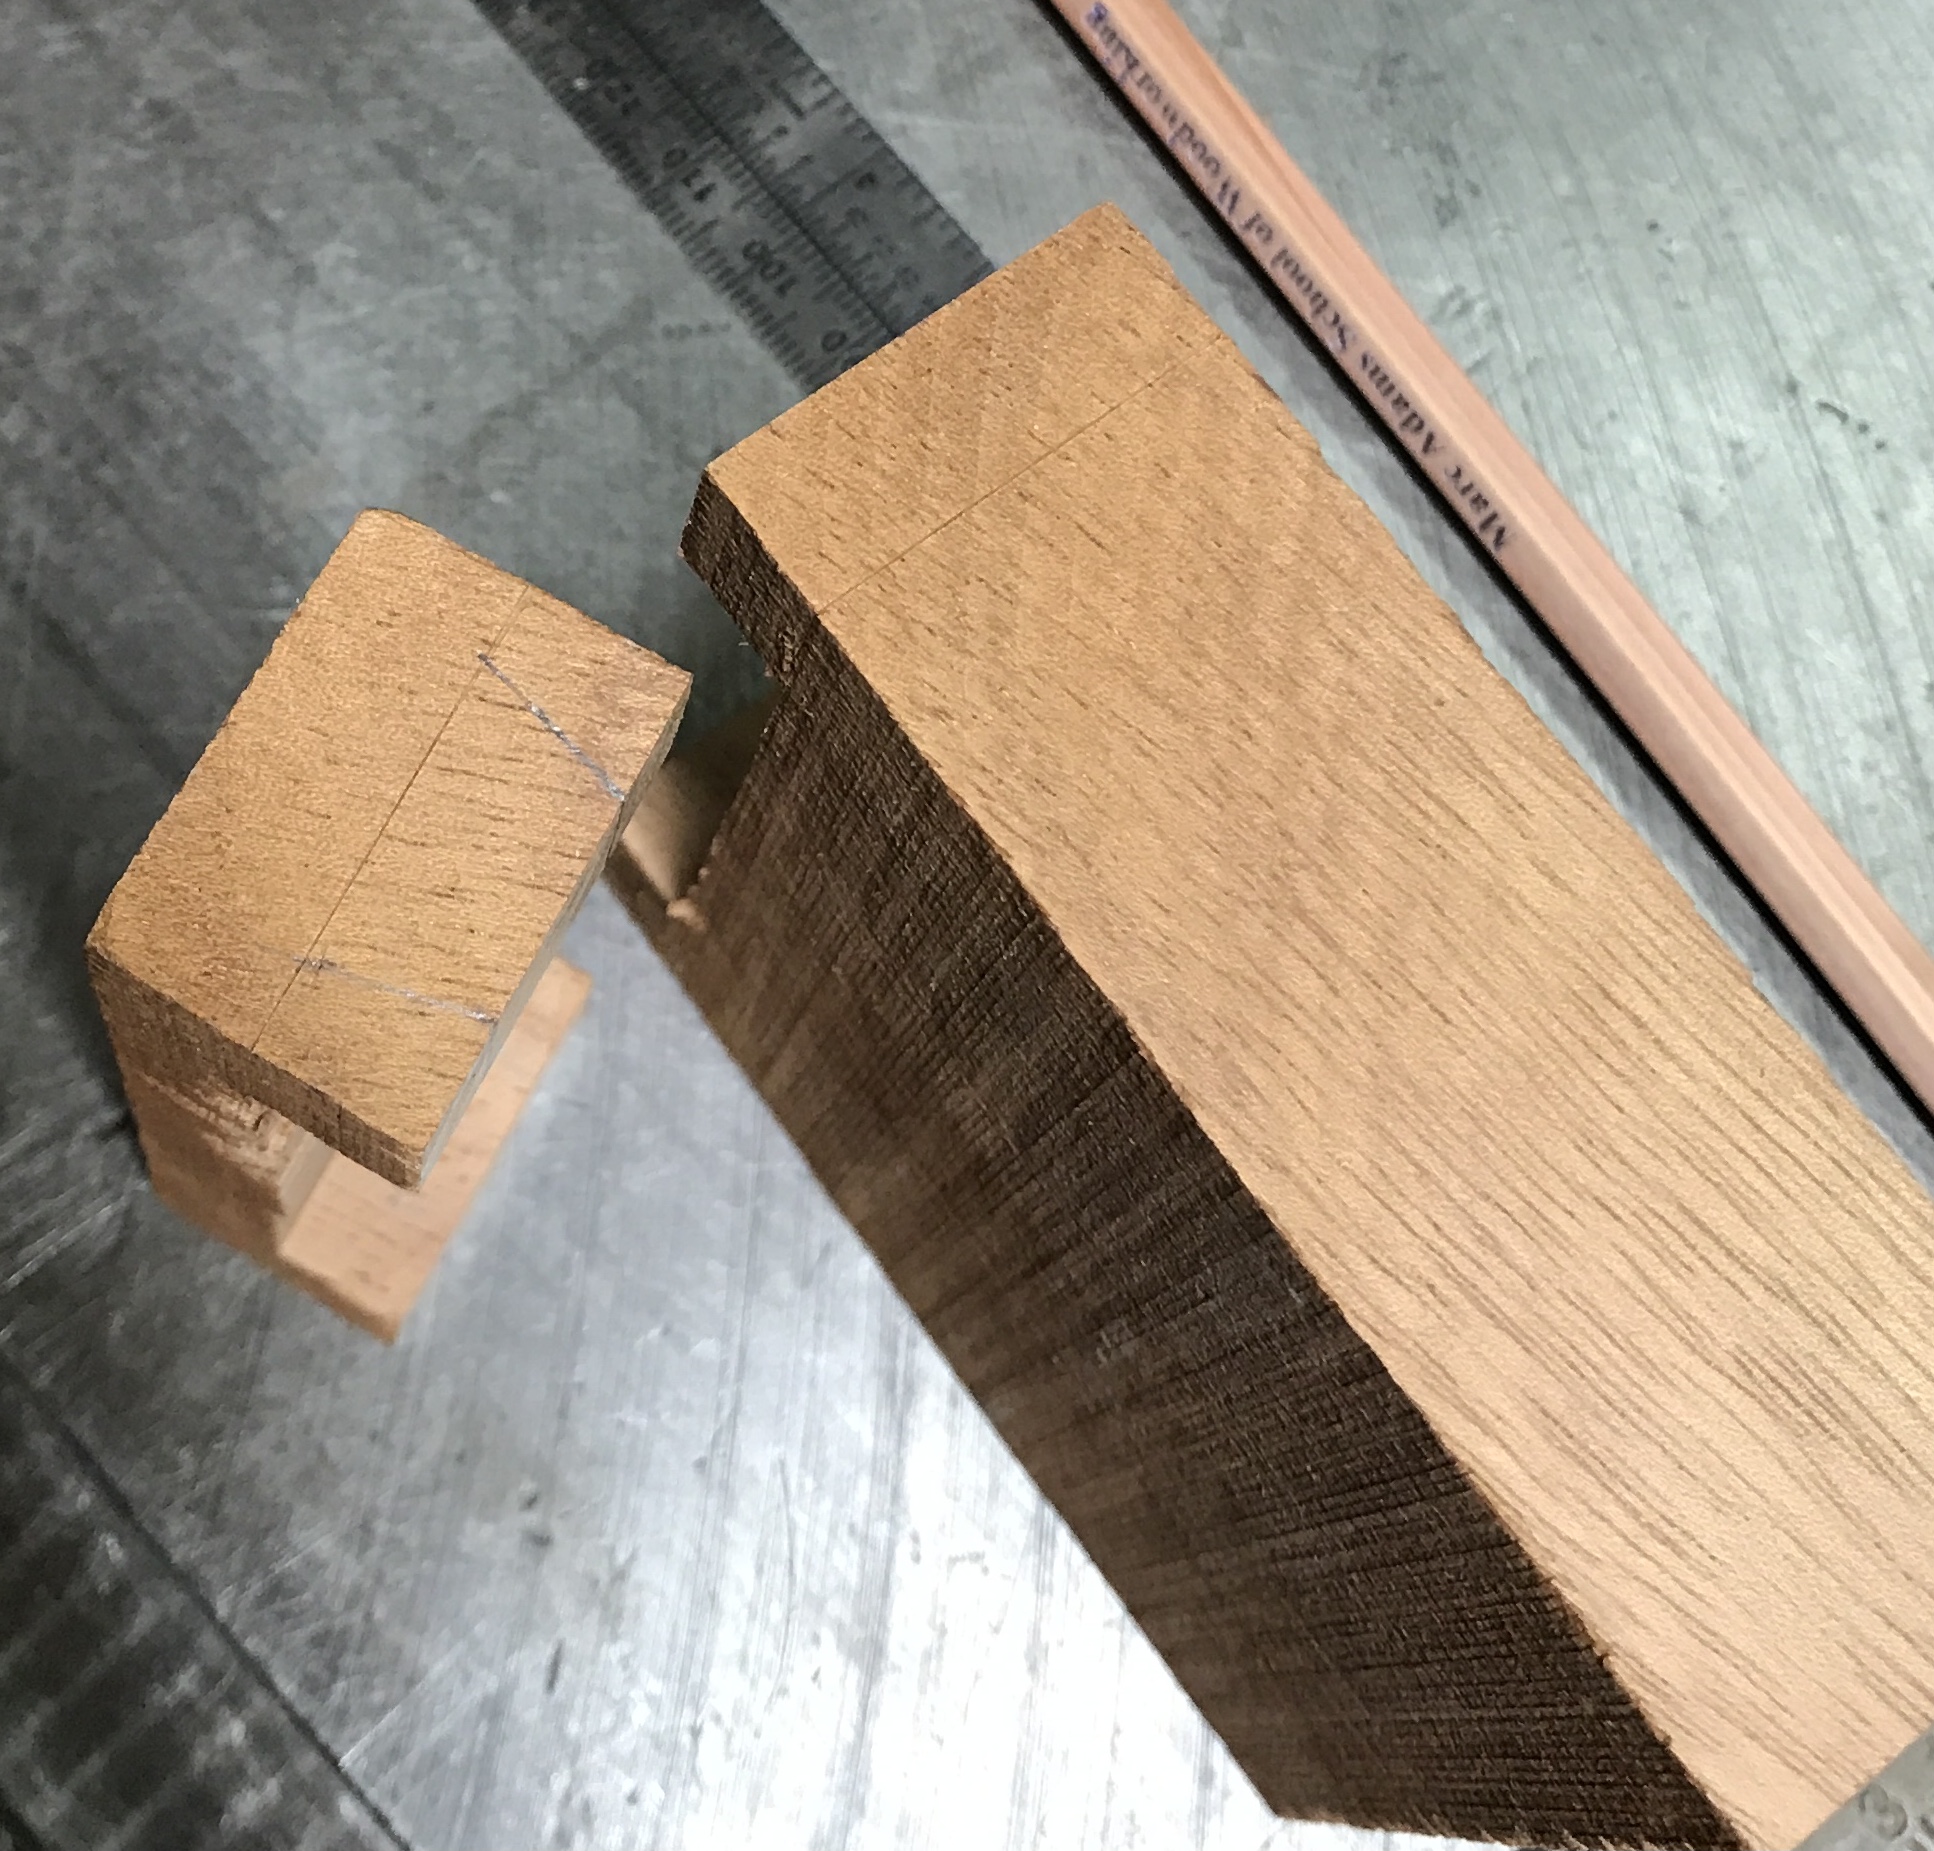
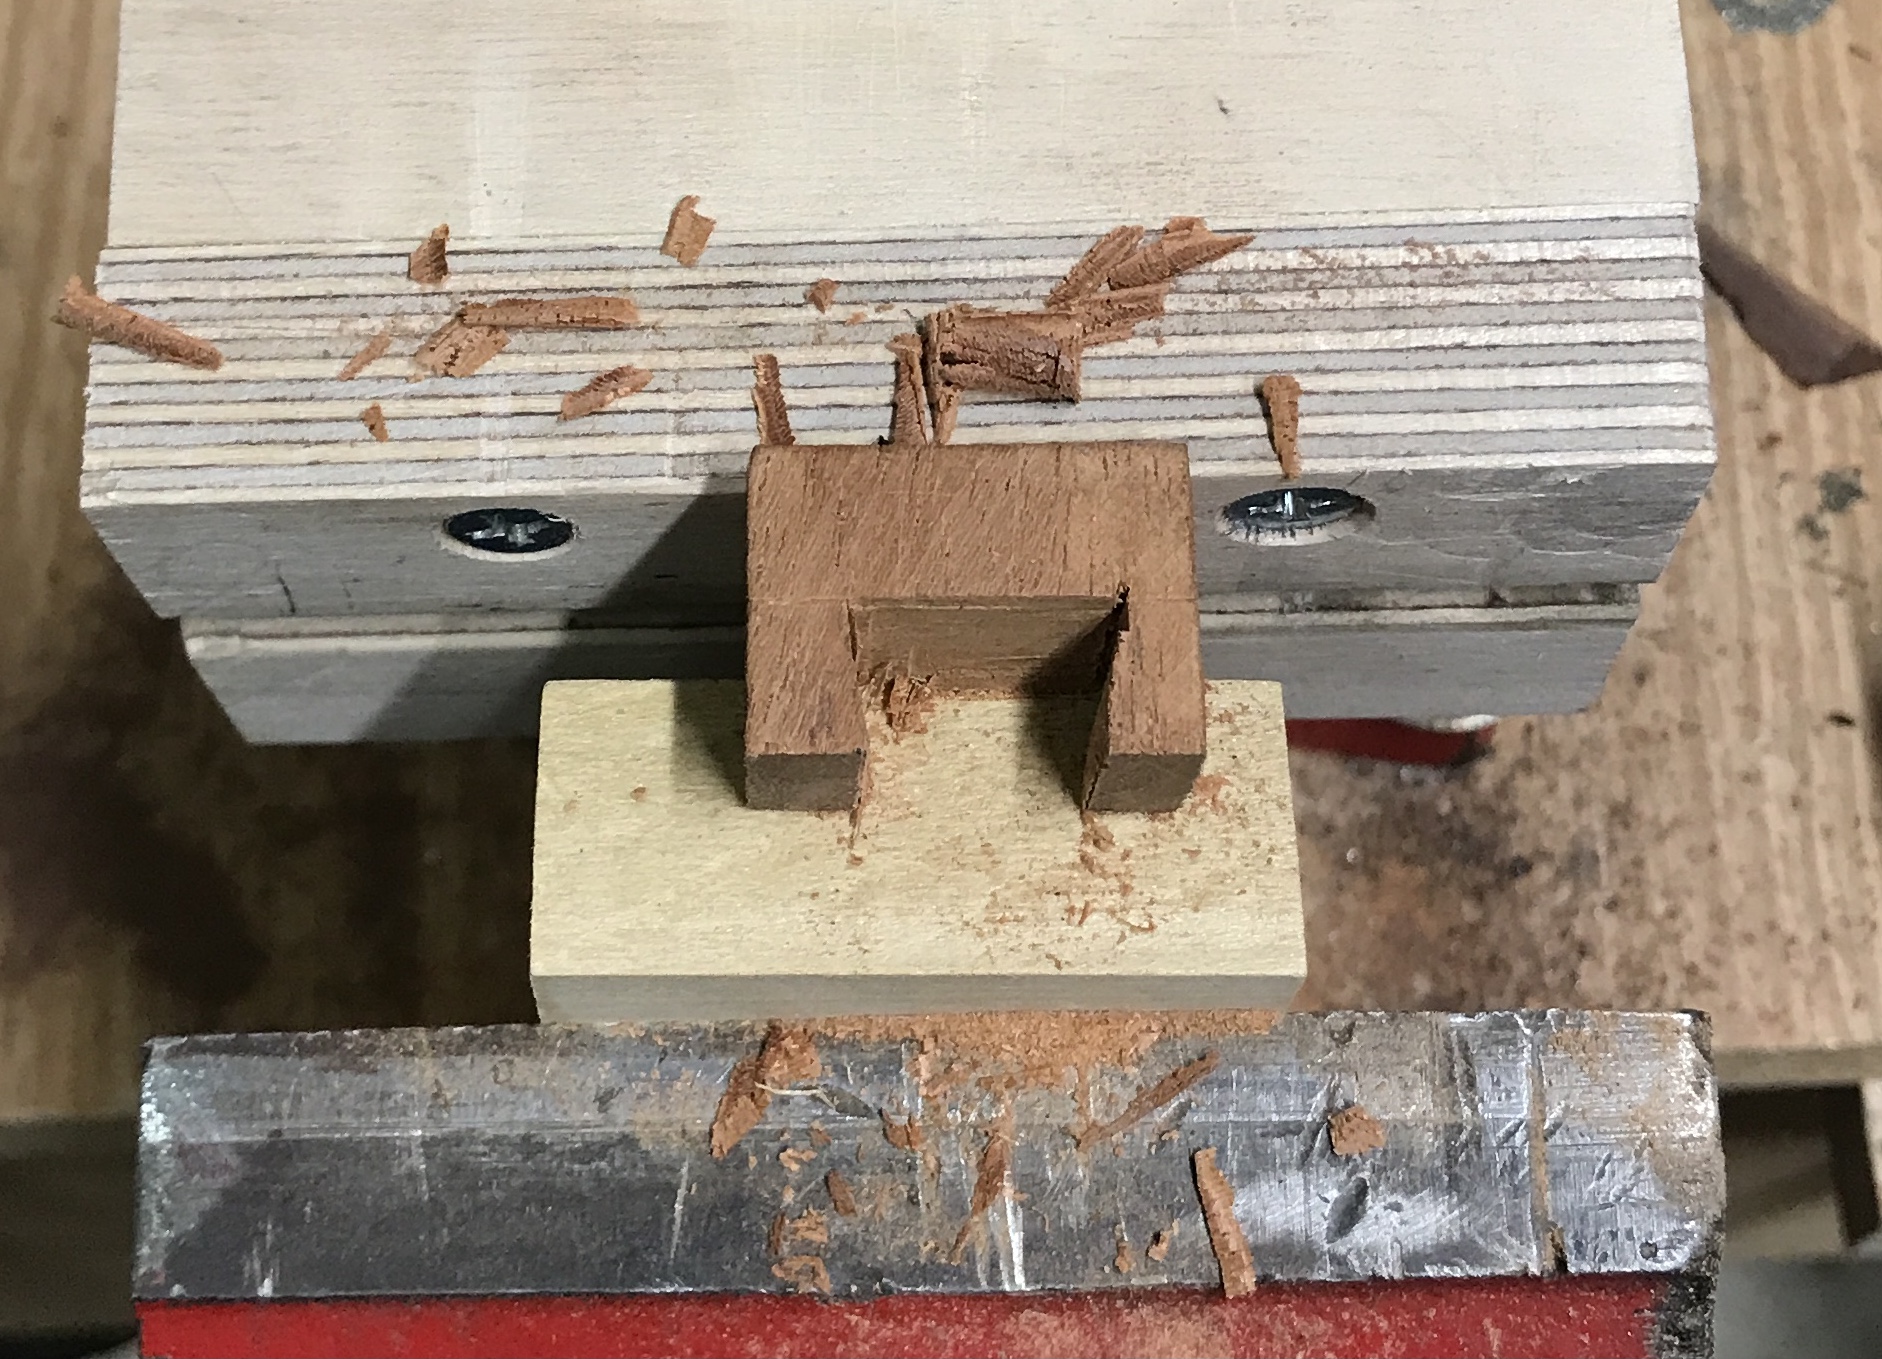
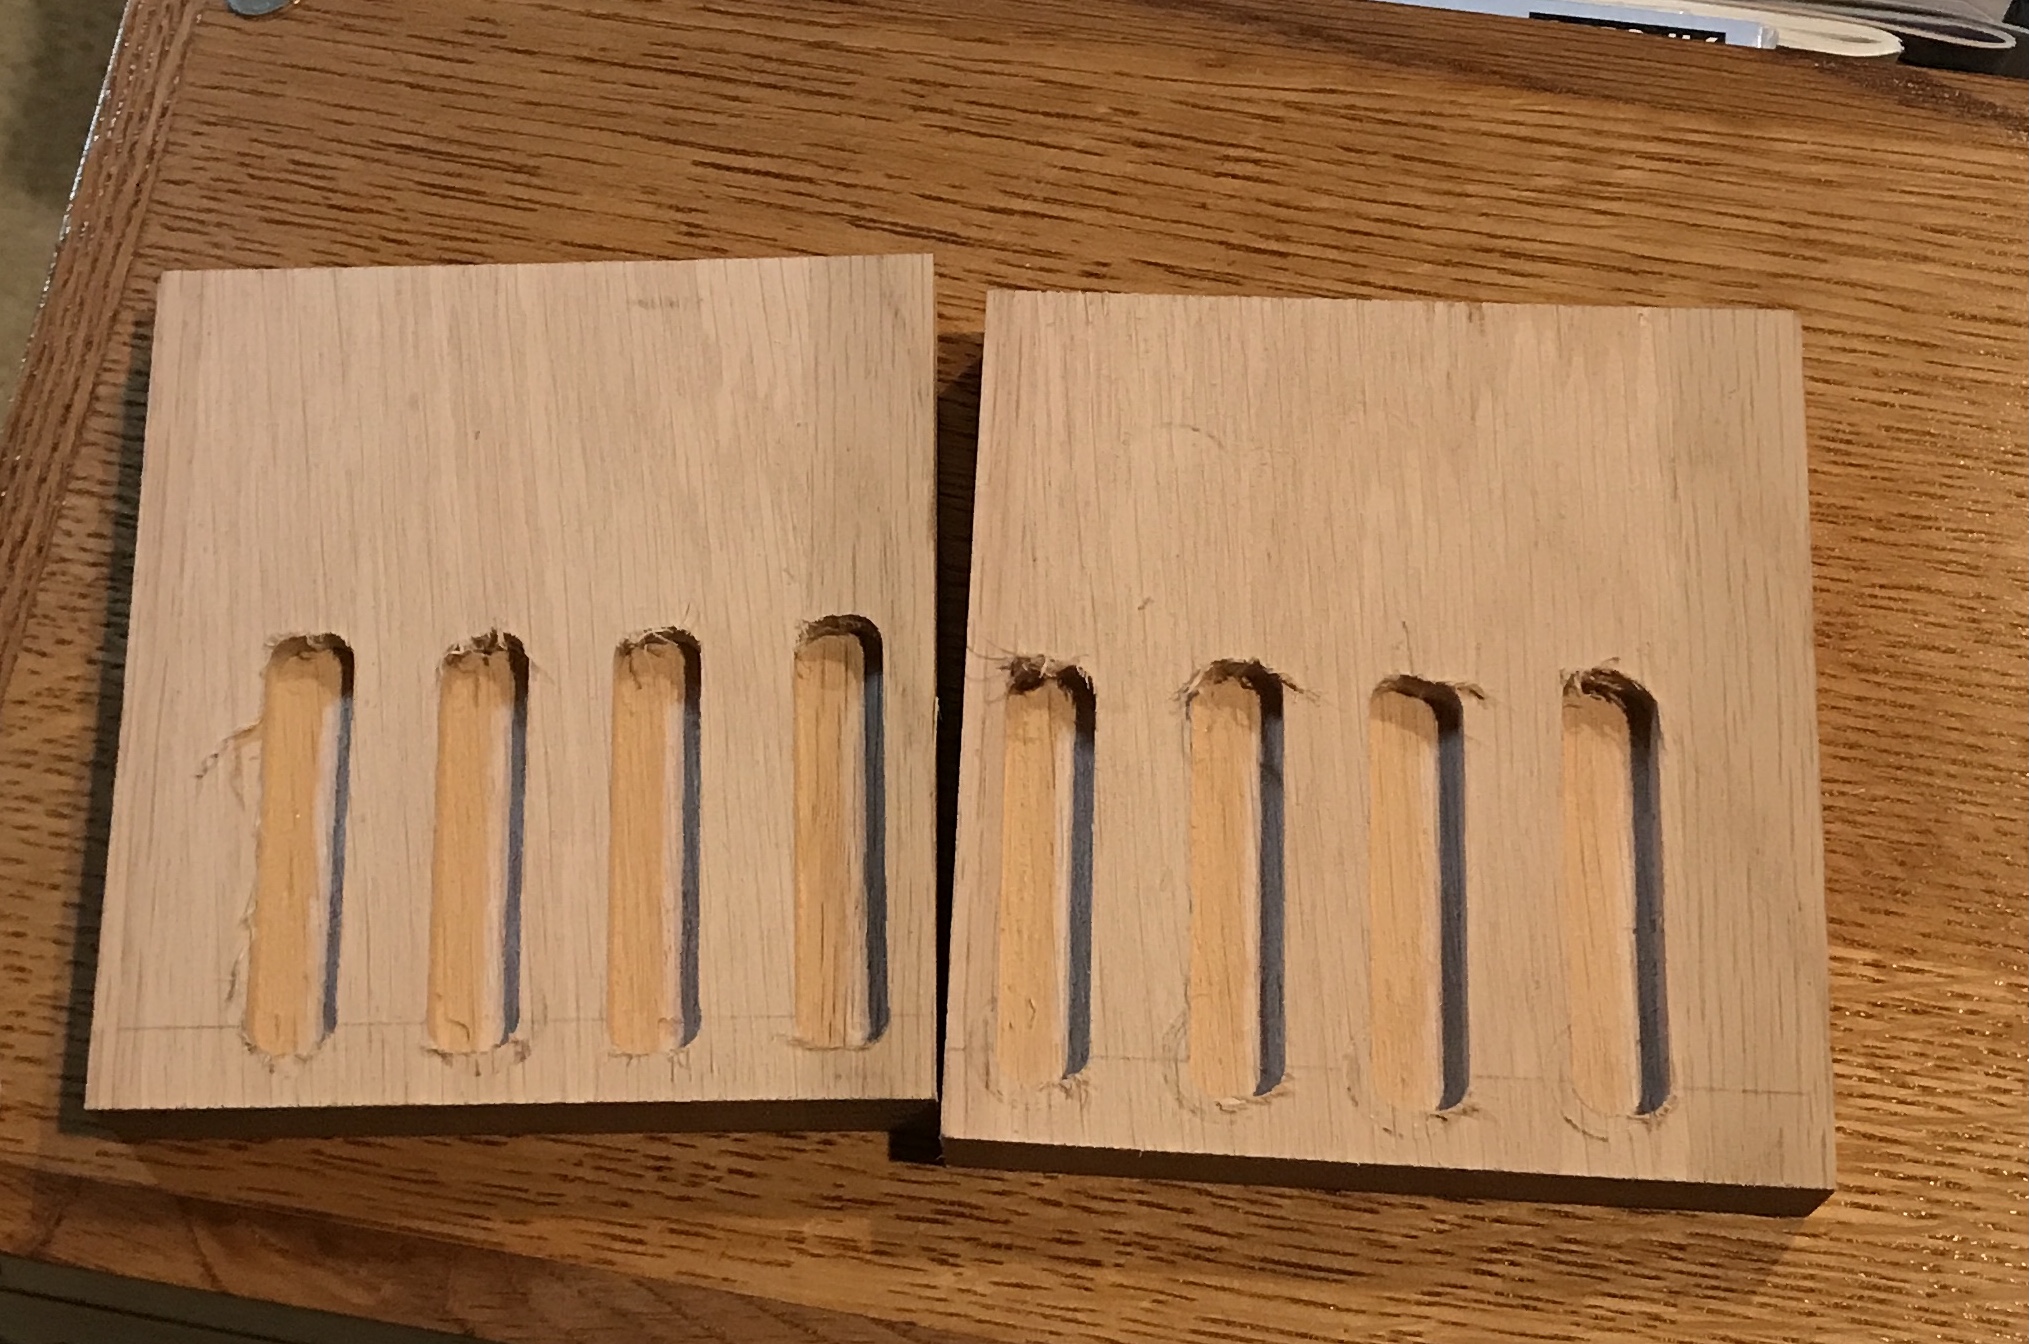
Had another idea overnight. Two 3/4" boards will make the bottom and top. Four slots for the punches and four slots for the matching drills. After laying out both items on the wood marks were made for the punch slots. The ends of the slots were drilled with a 3/8" drill for end mill access. The 3/8" end mill was used to cut the slots in increments of 0.1" to 0.275" deep. The slots were measured on the first board and the measurements transferred to the second. The photo shows the two halves at this stage.
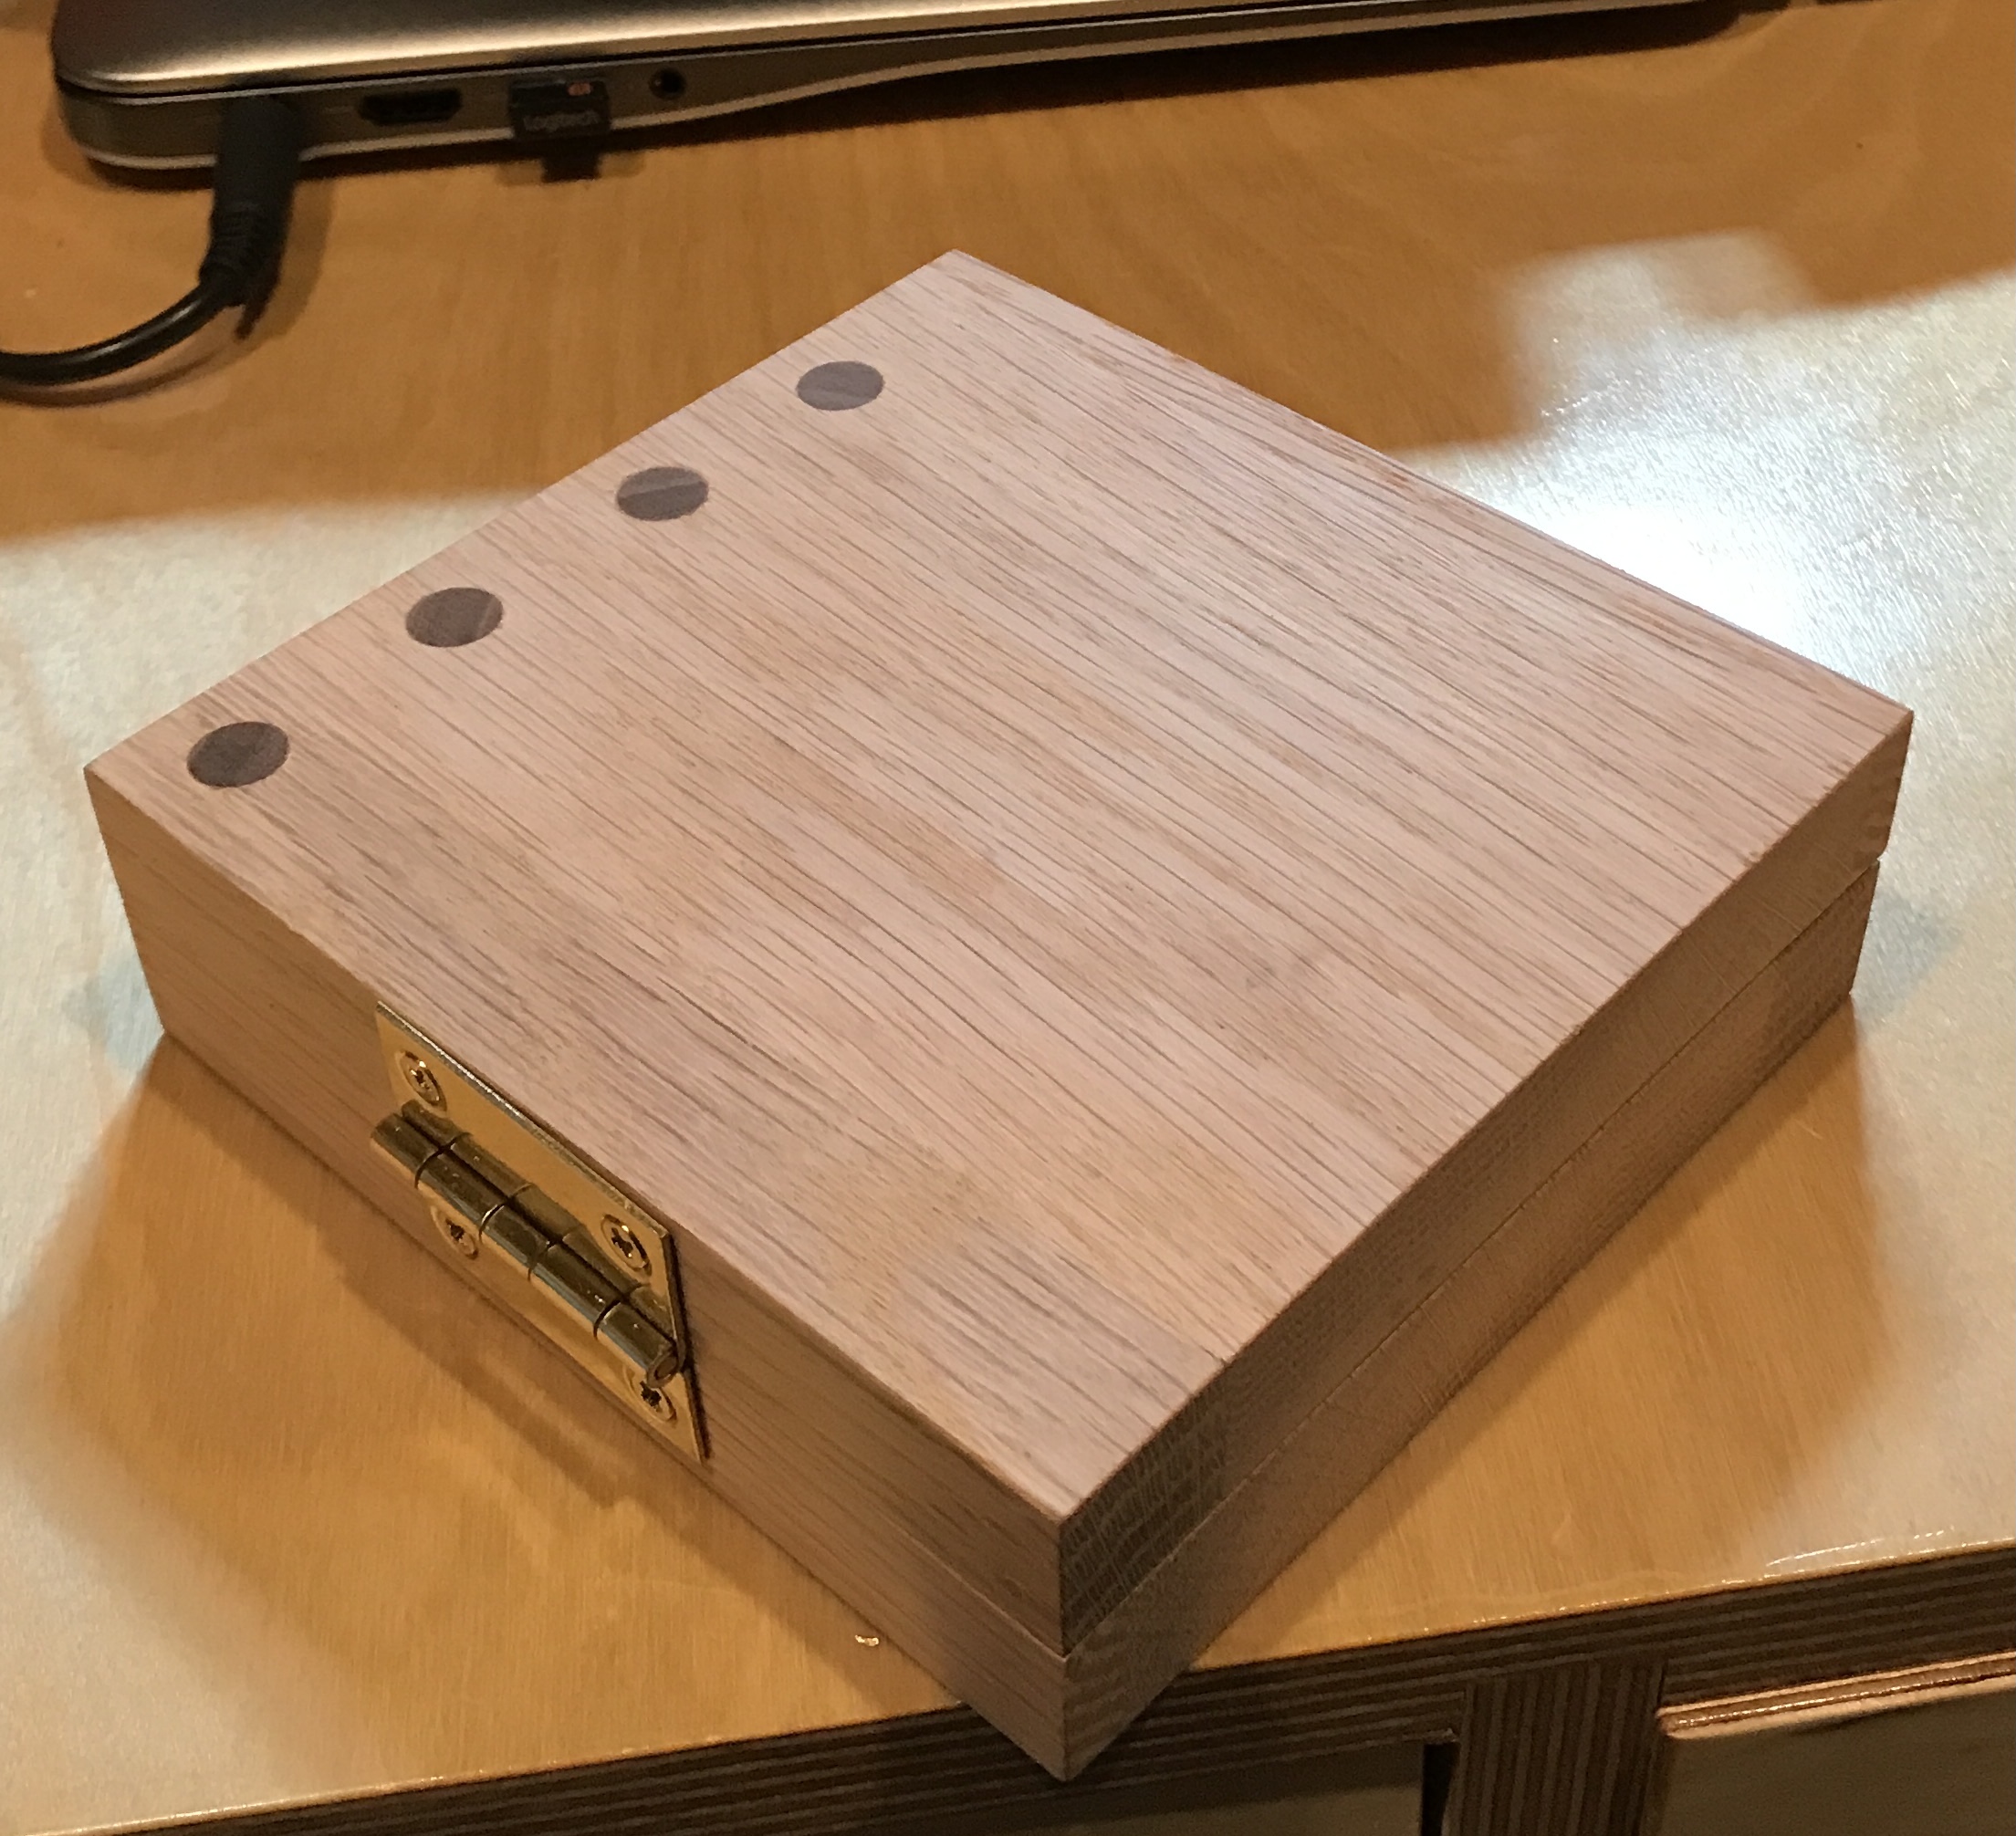
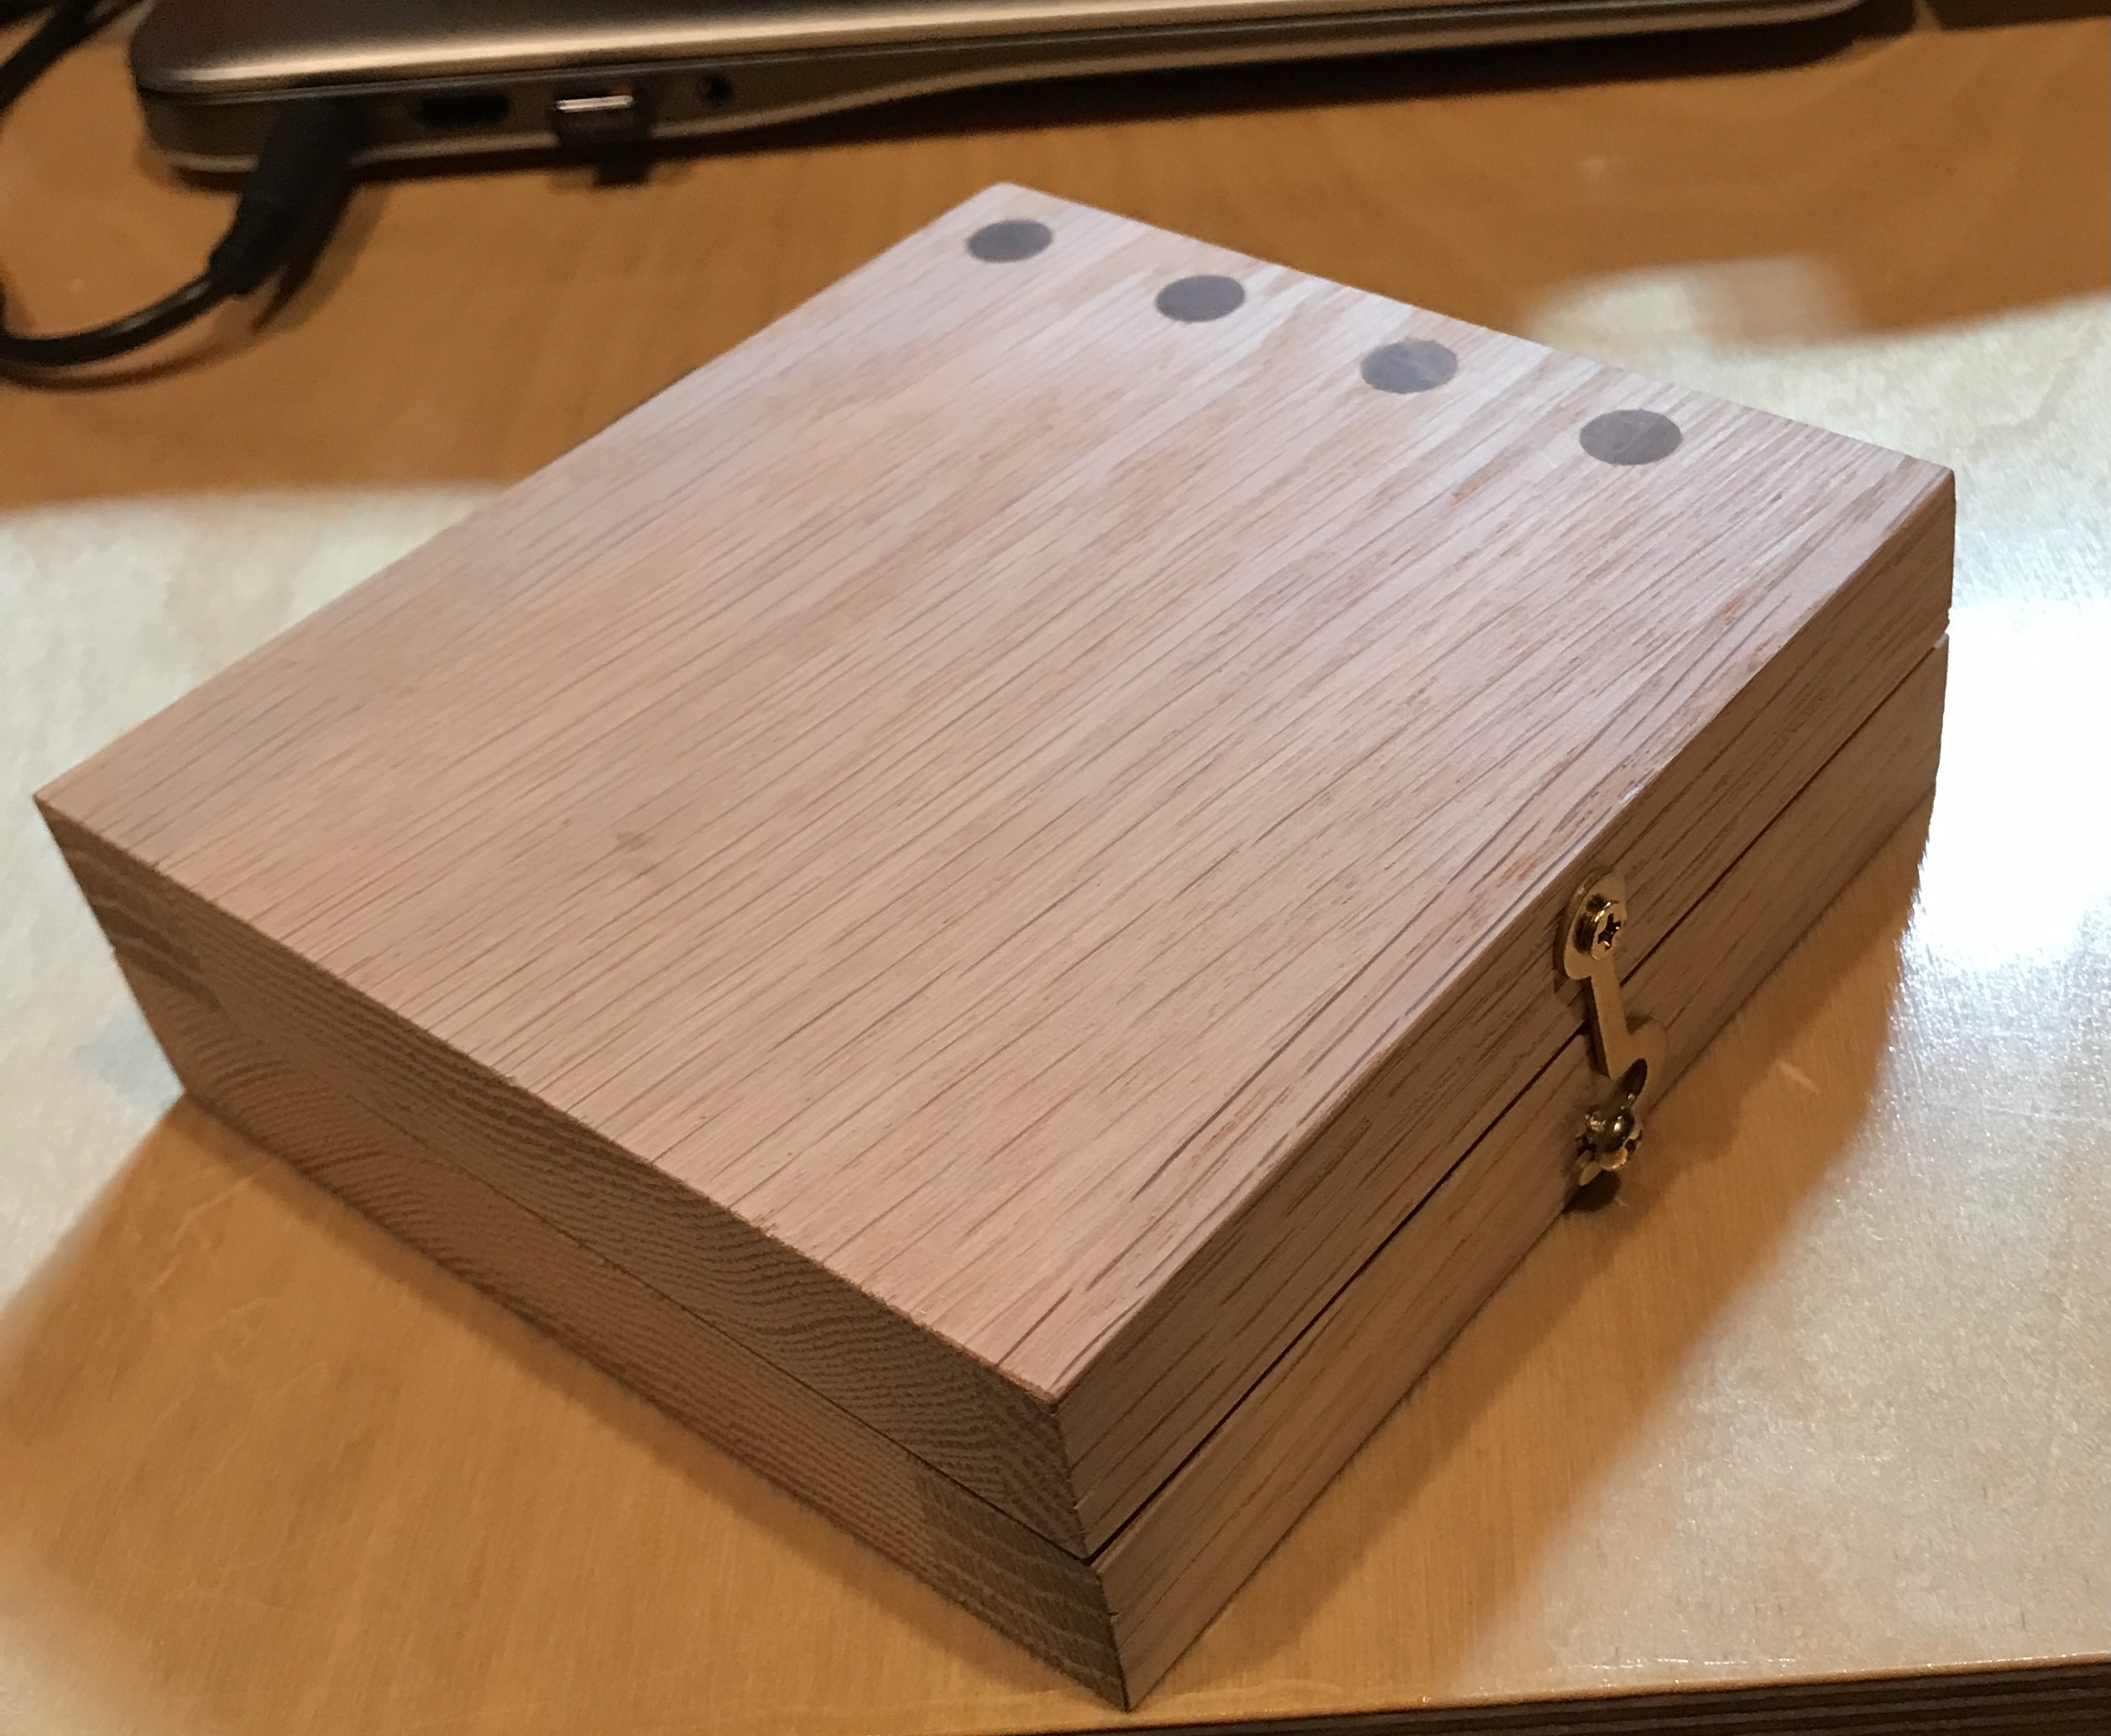
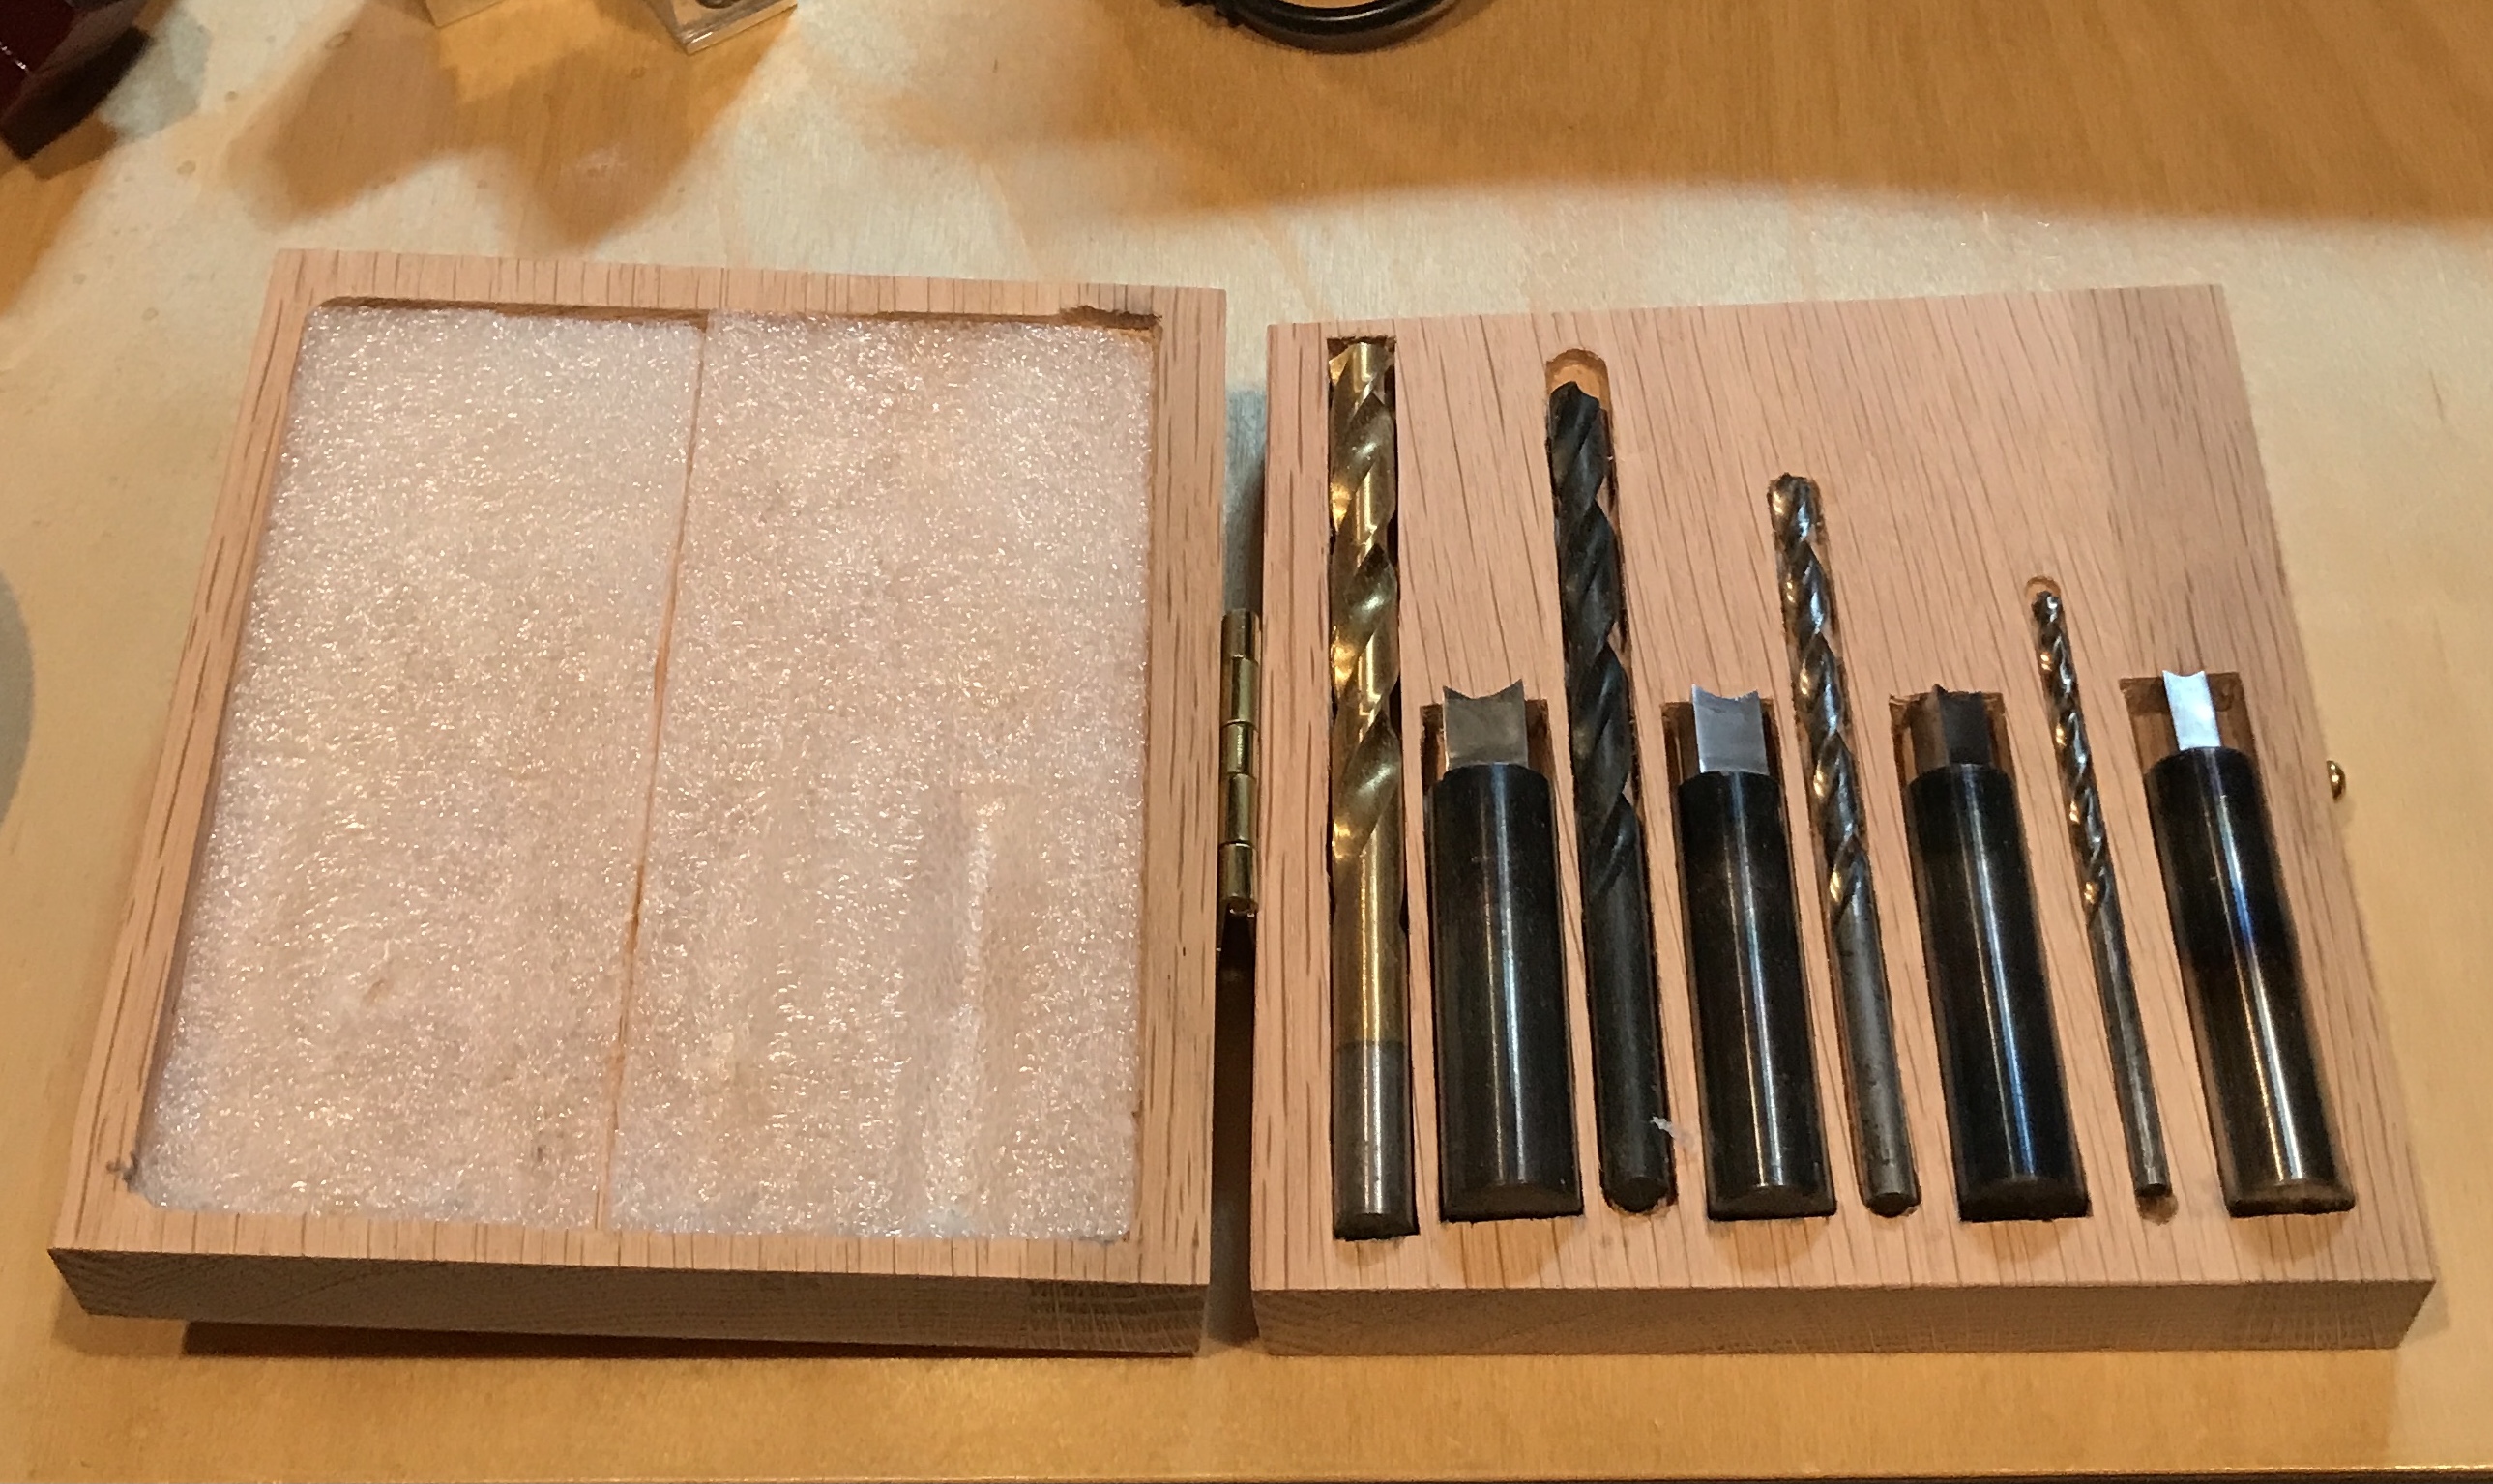
After completing the slots for the drills the slots were not sufficiently aligned for the top to fit on the bottom when the punches and drills were in place. The top was hollowed out producing one large square depression. The slots and the depression were cleaned up with chisels. The depression was sanded to 320 grit. The top and bottom were clamped together and sanded on the belt sander to produce a good fit. The entire assembly was sanded to 320 grit and the corners slightly rounded. The box was completed by adding a hinge, a catch, and some foam in the top. The pictures below show the result. The four walnut plugs repaired a drilling error.
Took the new punches to class. I asked the question: how do you align the punches to the hole? It turns out the punches are drilled through and the drill aligns the punch! So that night I put the punches back in the flame to red and let them cool slowly on the bench top. They were drilled through. For the larger two drilling started with 1/4" and went up to the correct size (punch size - 3/64") for that punch. The 1/4" punch was drilled with a 13/64" bit. The drilling had to be done very slowly and many stops for chip removal. The punches were rehardened as before. The newly hardened punches were sanded with 1000, 1500, and 2000 grit paper on the cutting faces.
It might be possible to find a diamond cone with a 40° included angle to sharpen the inner faces of the punches.
The 5/16" punch does not allow the drill to slide through. There is a catch about 1.5" from the business end. It was returned to the lathe and the drill that will remain with the punch set, 17/64", was used to ream the hole multiple times. There is still a catch. The non-business end was drilled about 1 1/4" deep with a 9/32" drill. Now the 17/64" drill slides through and there should still be enough hole at 17/64" to properly align the drill.
The box was treated with tung oil three times over three days and then waxed.